
With HashiCorp Cloud Platform (HCP) Consul on AWS moving into general availability, we’re seeing a lot of interest around how users can get started with service discovery and consuming service mesh within their AWS environments. We want to highlight how users can get started using HCP to deploy and consume HashiCorp Consul natively within AWS.
In this blog, we’ll go through an initial exploration of the HashiCorp Cloud Platform, and show what the overall navigation experience is like. We’ll dig into the HashiCorp Virtual Network (HVN) and explain what the networking model between HCP and existing AWS VPC environments looks like. We’ll also explore getting our first VPC peered with the HVN and configuring the security groups and routing tables for our desired connectivity. Finally, we’ll get HCP Consul deployed and conclude with information on how you can start bringing workloads into Consul’s service mesh. For readers who are interested in a video tour of this blog, at the end we'll have a few getting started videos that will take you through the content we cover in this blog.
Let's get started!
»Log in and Explore HCP
When you first navigate to https://portal.cloud.hashicorp.com you’ll be presented with a prompt that asks you to sign into your HCP account. If you haven’t set one up before, you’ll note the option to sign up for a free account on the bottom of the page.
When signing up for an HCP account, you’ll notice that this account uses GitHub credentials as your login to the platform. You’ll need to allow this access to your GitHub account as part of the registration process for HCP.
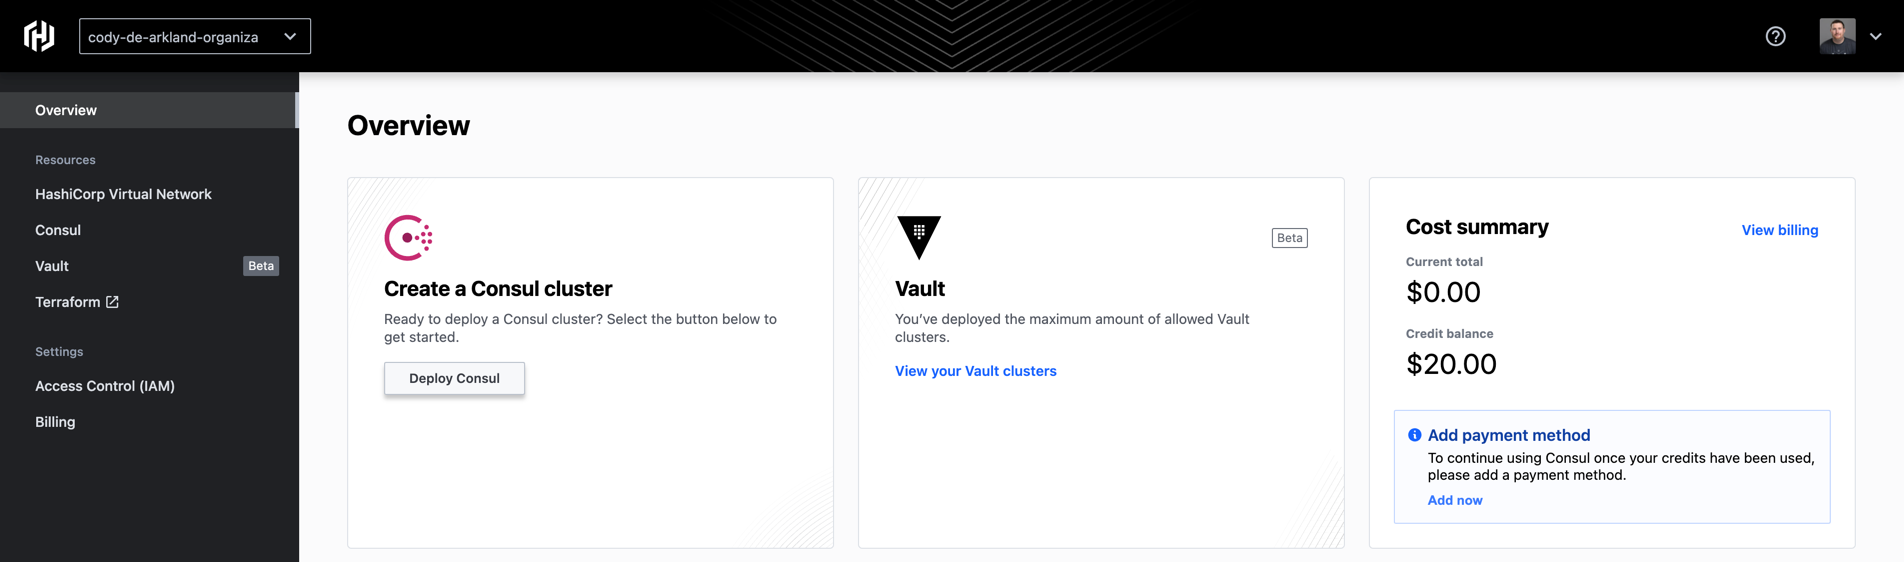
Once you have signed up or logged into HCP, you’ll be presented with a landing page that allows you to perform basic operations across the platform.
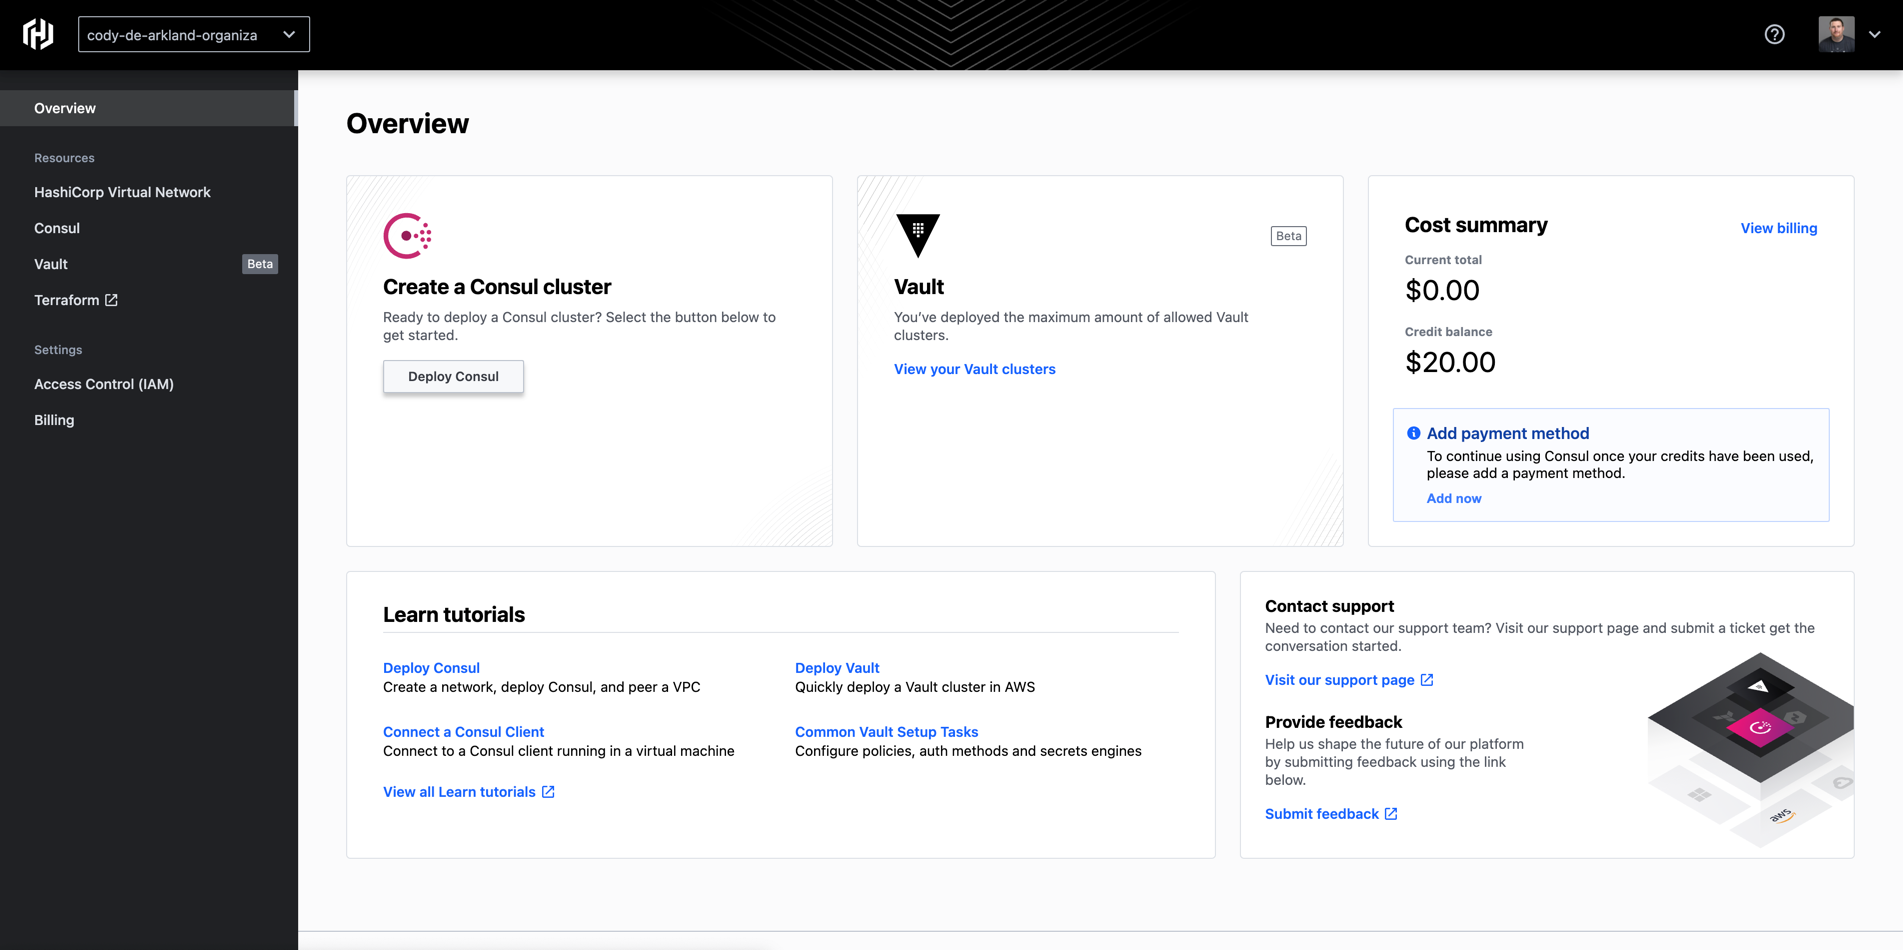
These operations include things like viewing and managing your HashiCorp Virtual Networks (HVNs), as well as deploying both HashiCorp Consul and Vault (this blog assumes that you have signed up for the public beta. Once deployed, these resources live in the HCP AWS environment where their platform operations are managed by the HashiCorp SRE team. This is one of the benefits of leveraging HCP to deploy the HashiCorp tools: the care and feeding of these platforms are managed by HashiCorp, allowing you to focus more on consumption of the platform instead of the ground-floor build of the Consul environment.
»Exploring the HashiCorp Virtual Network (HVN)
One of the magic pieces of HCP is the implementation of the HashiCorp Virtual Network (HVN). This network is the environment where the Consul and Vault product workloads are deployed today.
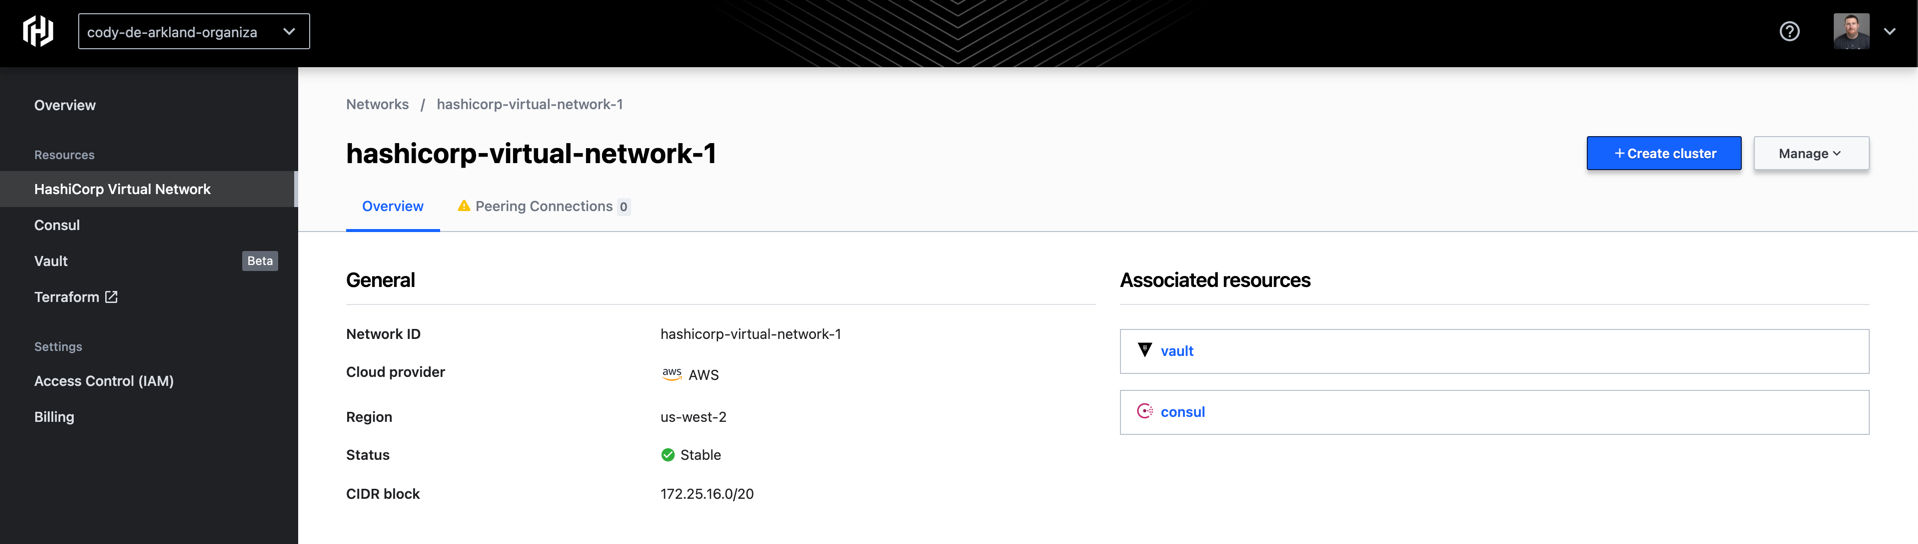
During the deployment of an HVN, we select the CIDR block (an IP address range within the HCP platform) that will be used for the environment. You’ll want to be sure you pick a unique CIDR block compared to the environments you plan on connecting to HCP. Today, environments are limited to a single HVN per HCP environment. These HVNs are deployed to a specific cloud provider (AWS in this case) and region within that environment. As you can see in the screenshot above, I’ve deployed my HVN to us-west-2.
When operators look to bring their workloads into HCP, they’ll execute a peering operation between the HVN environment as well as the end user’s AWS account and VPC. Let’s dig in a bit more on HCP peering.
»Understanding and Peering with the HVN
Peering is an activity we expect cloud teams to perform often within the HCP environment because it truly allows a multi-tenant experience to exist for user workloads. Peering gives a simple path for users to connect the HashiCorp platforms deployed within HCP to the workloads deployed in their AWS VPCs. This action must be taken before you can start to bring workloads into the environment.
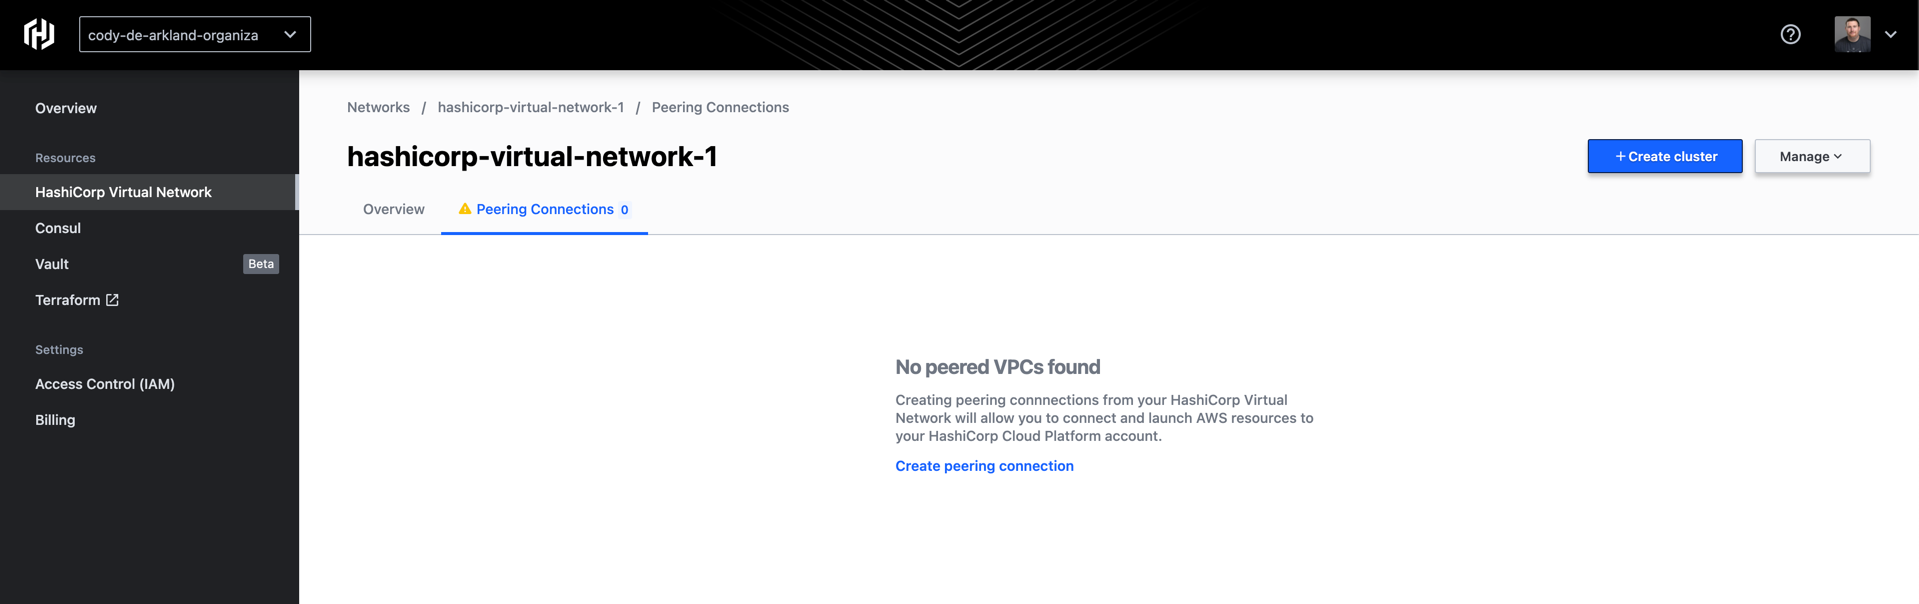
To get started peering a VPC, select the “Create peering connection” button in the center of the “Peering Connections” screen.
Within the “Create peering connection” screen, you’ll be prompted for a few pieces of information around your existing AWS environment.
Your AWS account ID
VPC ID
VPC region
And the CIDR block for your VPC

We’ve provided tips within the HCP UI on where you can find this data from inside your AWS account. Note that one of the most important things to remember is that the network ranges you are peering with HCP cannot be overlapping ranges.
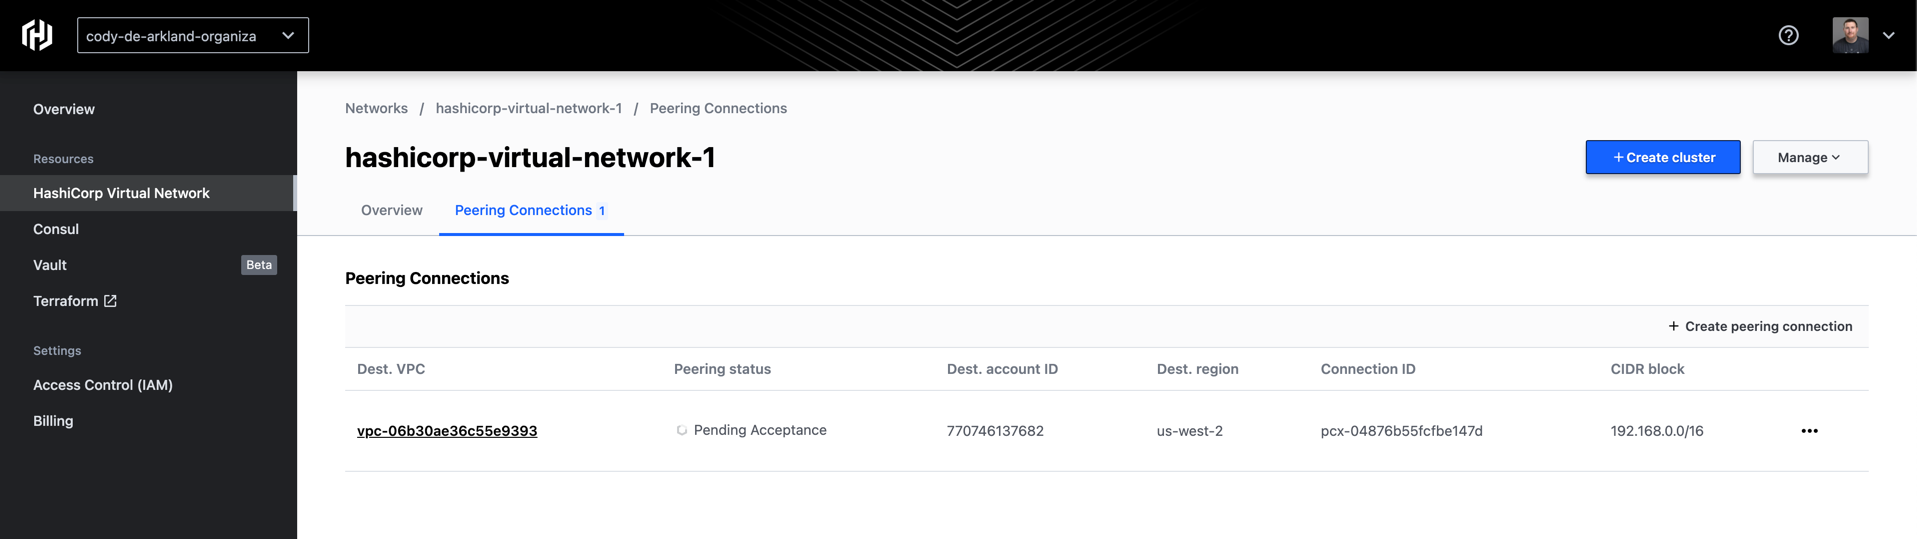
Once you select “Create Connection” on the bottom of the screen, you’ll land on a screen that shows you the status of current peering connections within your environment. You should see a new entry that indicates it is “Pending Acceptance.”
From here, we need to accept the peering request in our AWS account. If we select the peering connection, HCP provides steps for how to update your VPC with this peering data both from a CLI/Terminal perspective as well as a web console perspective.
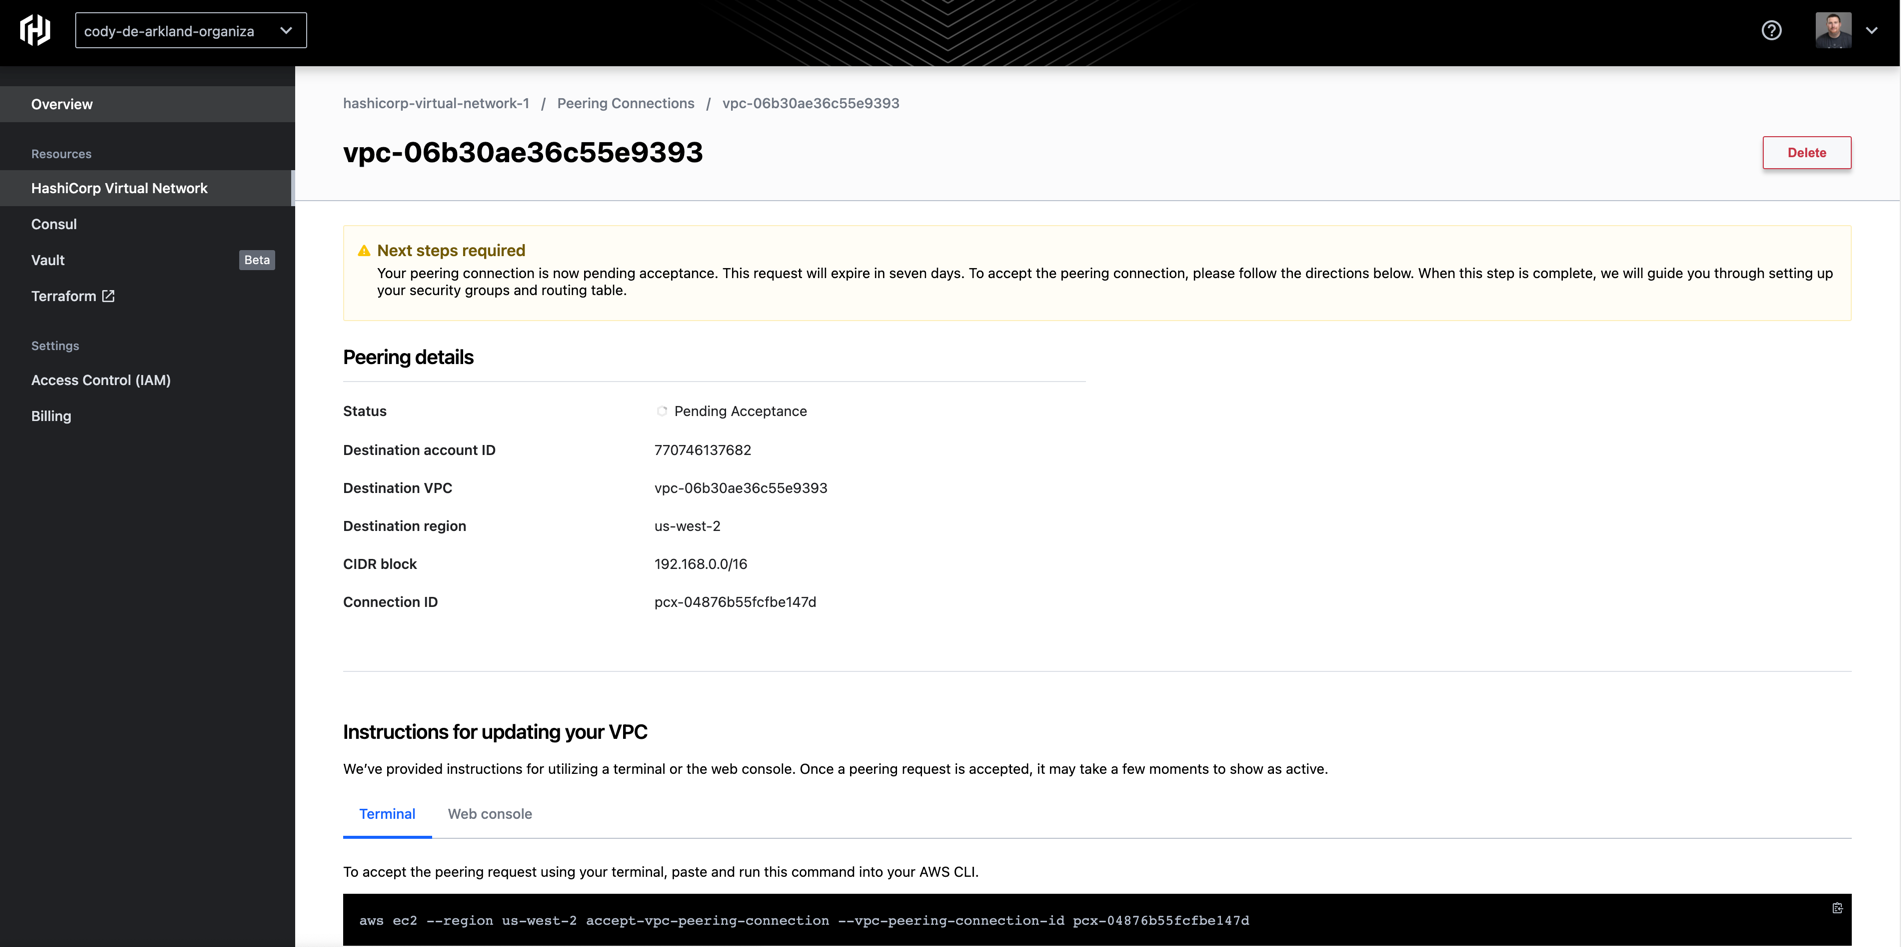
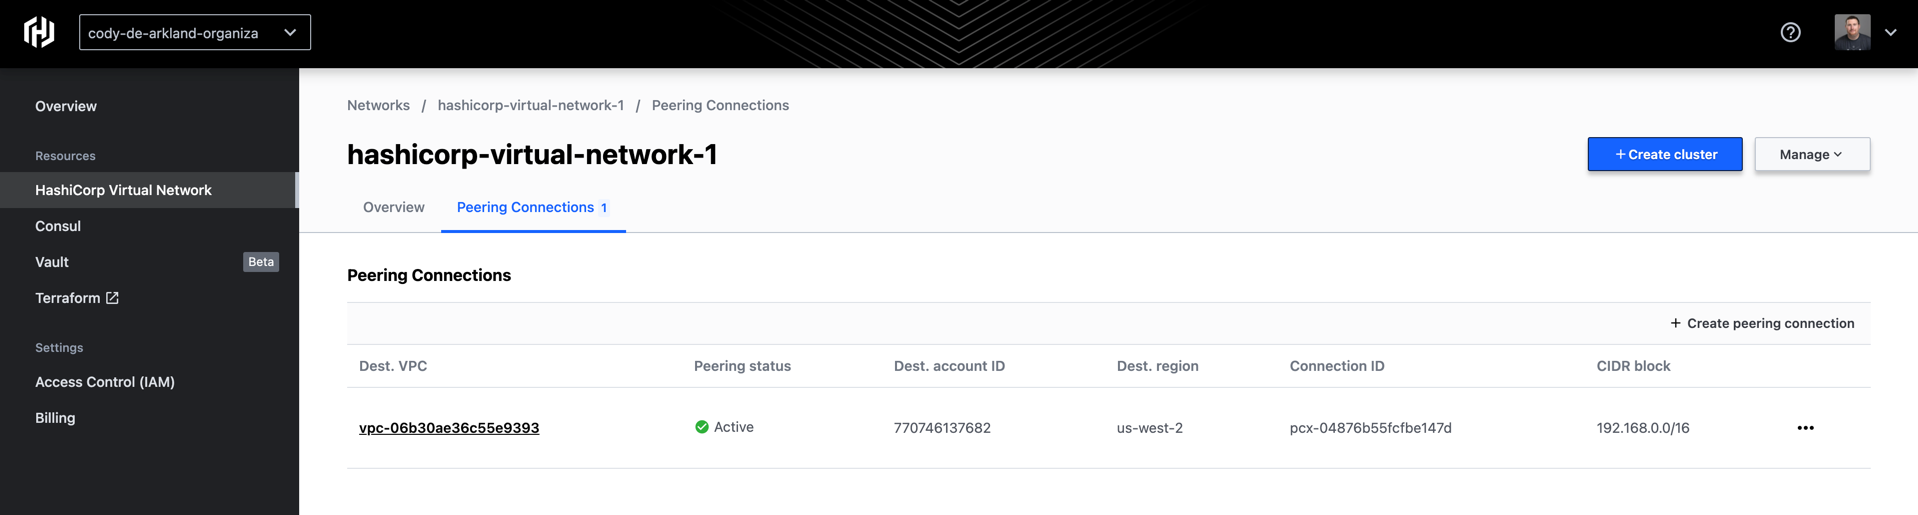
In my example, I leveraged the AWS CLI to execute the peering acceptance. Once the acceptance completes (which can take a few moments), you’ll see an “Active” peering status on the Peering connections screen within HCP.
In order to leverage this VPC peering connectivity, we’ll need to update some of our security groups and routing tables within the AWS environment. Select the peering connection again and you’ll be able to view instructions for updating the VPC’s connectivity details.
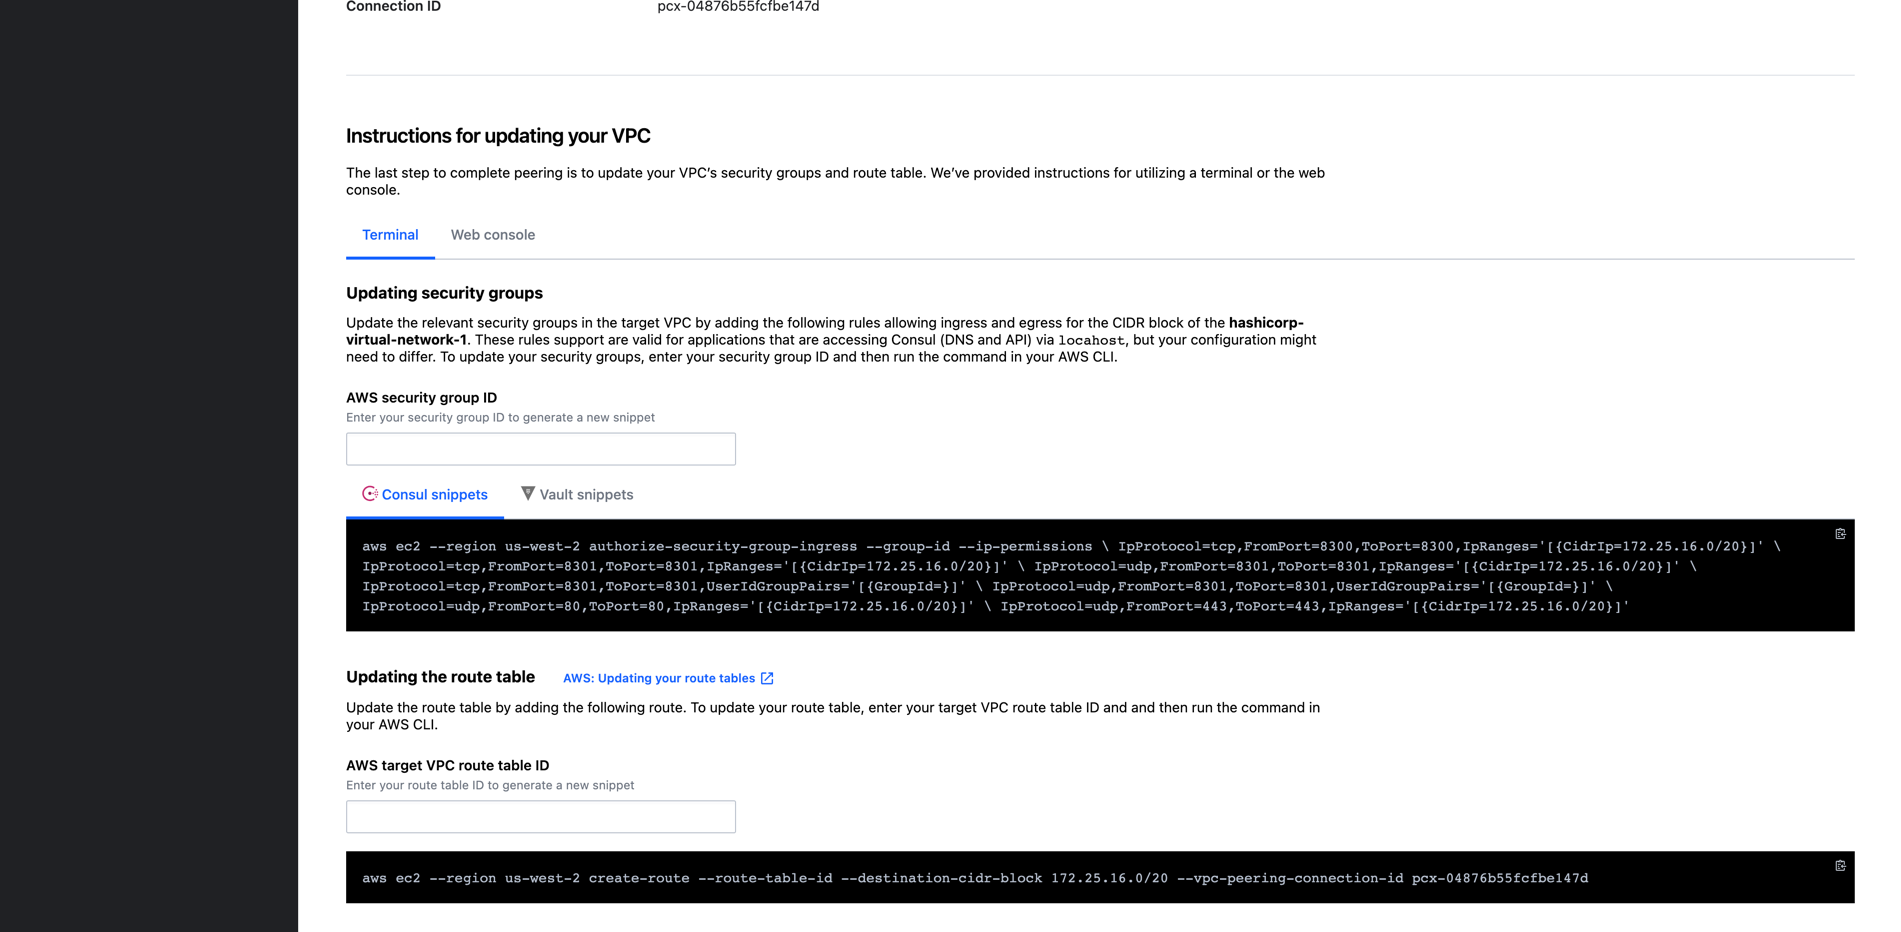
This set of instructions includes updating the security groups to include the necessary ports for communication with HCP Consul as well as setting up the route table to traverse the peering connection for communicating within HCP.
Fill in your AWS security group ID and route table ID and the page will automatically update, providing you with the correct CLI command to update your AWS VPC configuration.
At this point, we’ve successfully peered our VPC to the HCP HVN, as well as allowed network communications. Any workloads that are deployed into this VPC should now be able to communicate with the HCP resources. Let's take a look at how we actually deploy HashiCorp Consul within HCP.
»Deploying HCP Consul
On the left navigation bar, we can select the Overview section to return to the main landing page. On the top, you’ll see the “Create a Consul cluster” navigation box (you can also jump straight into Consul by selecting Consul from the menu on the left as well). Select the Deploy Consul button beneath it.
This drops us into the guided process for deploying out a HashiCorp Consul cluster within HCP.
Here we can set the name of our cluster, our HCP Consul tier (Development in my case), whether this cluster should be externally accessible (i.e., given an external address for the user interface and API interactions), and finally the Consul version to deploy. At the time of this announcement, HCP Consul supports both 1.9.1 as well as 1.9.2.
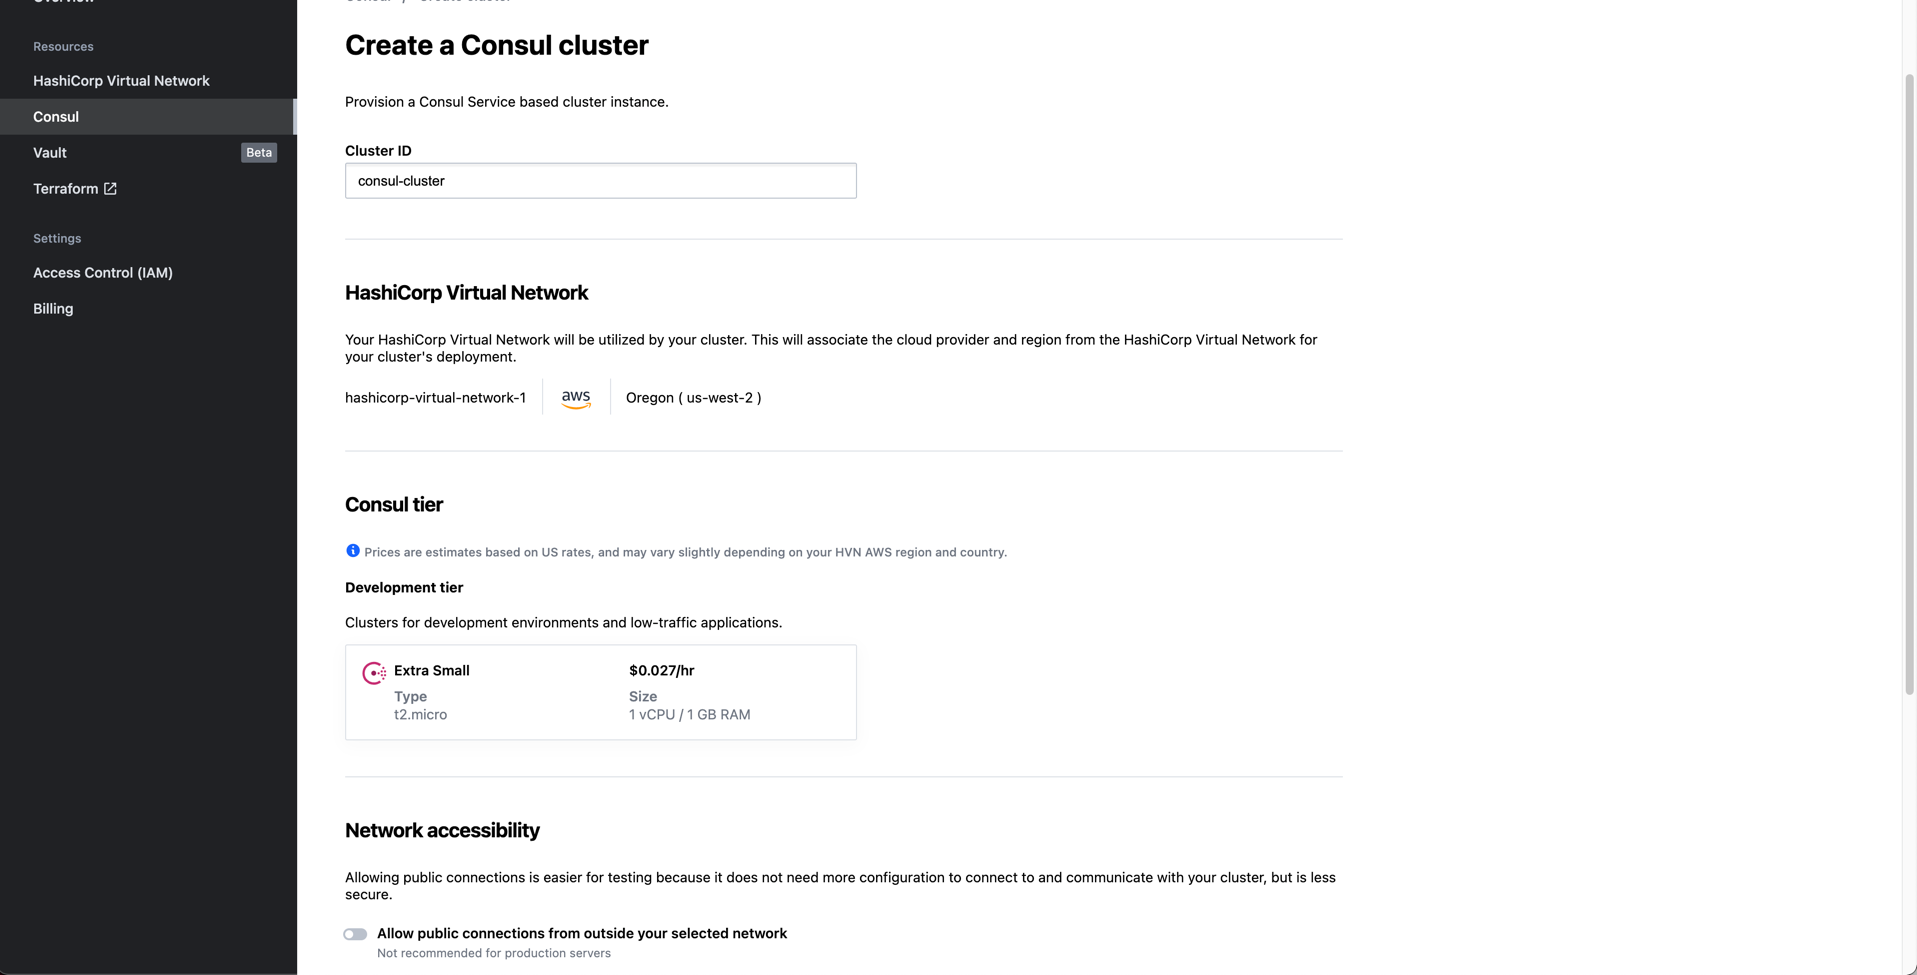
In the case of a development cluster, we’re deploying a single-node server environment for Consul. The outcome of this choice is reduced redundancy, but at a significantly reduced cost. This option is extremely viable for operators looking to take HCP Consul for a test drive without paying for the full-scale Consul service.
Use caution when choosing whether to enable or leave disabled the external network accessibility for Consul. This can pose a security risk to organizations, and you may not want to leave the control plane accessible outside of AWS.
Select “Create cluster” and our cluster will begin to deploy. After a short while, you’ll be presented with the completion window below.

Contained within the client configuration download is the certificate file for your environment as well as the client_configuration file, which contains the following configuration details:
ACL configuration details (not the ACL itself, though)
Encryption configuration details
Datacenter name
Consul server join configuration (specifically, the private DNS address)
Assorted cluster settings
You will need this information in order to connect client workloads (i.e., Elastic Kubernetes Service (EKS) clusters or EC2 instances) to the Consul control plane.
With this file in hand, and your cluster provisioning completed, you’re able to get started connecting workloads to HCP.
»Next Steps with HCP Consul
With your fully functional Consul environment in hand, you’re ready to start connecting workloads.
Our Learn team has created several tutorials to help you get started with connecting platforms like EKS, as well as EC2 instances. To get started, we recommend taking a tour of the HashiCorp Learn section specifically surrounding HashiCorp Cloud Platform here. In this track you should check out:
Connecting a Client to HCP - This Learn guide takes you through how to configure a client to connect to HCP. Most commonly this is going to be an EC2 instance.
Connecting EKS to HCP - This Learn guide takes users through configuring an EKS cluster to join the HCP control plane. We see this being an extremely important guide for users looking to consume service mesh in microservices environments.
Each of these guides gives users a step-by-step process for adding resources to HCP. They also provide a solid foundation for growing your Consul environment and consuming Consul as a managed service.
More interested in a video tour of HCP and the getting started process? Take a look at these videos below!


