

Terraform Cloud Business Tier has released Single Sign-On for customers so that you don’t have to use separate credentials to authenticate with Terraform Cloud. You can configure SSO using the out-of-box integration with Okta, or a generic SAML 2.0 integration. For those who don’t have Okta, Auth0 is a popular authentication platform for developers and has been adopted by some large enterprises. The best feature of Auth0 is that it is free for up to 7,000 active users.
In this article, I am going to show you how to use Auth0 as the identity provider for Single Sign-On into Terraform Cloud Business Tier using the SAML 2.0 integration.
»Setting Up Auth0 and Terraform Cloud
I assume you already have a Terraform Cloud Business Tier plan. If you don’t, please speak to your HashiCorp Account Manager or contact us here for a trial.
You also need an Auth0 account, if you don’t have one, you can get a free account here.
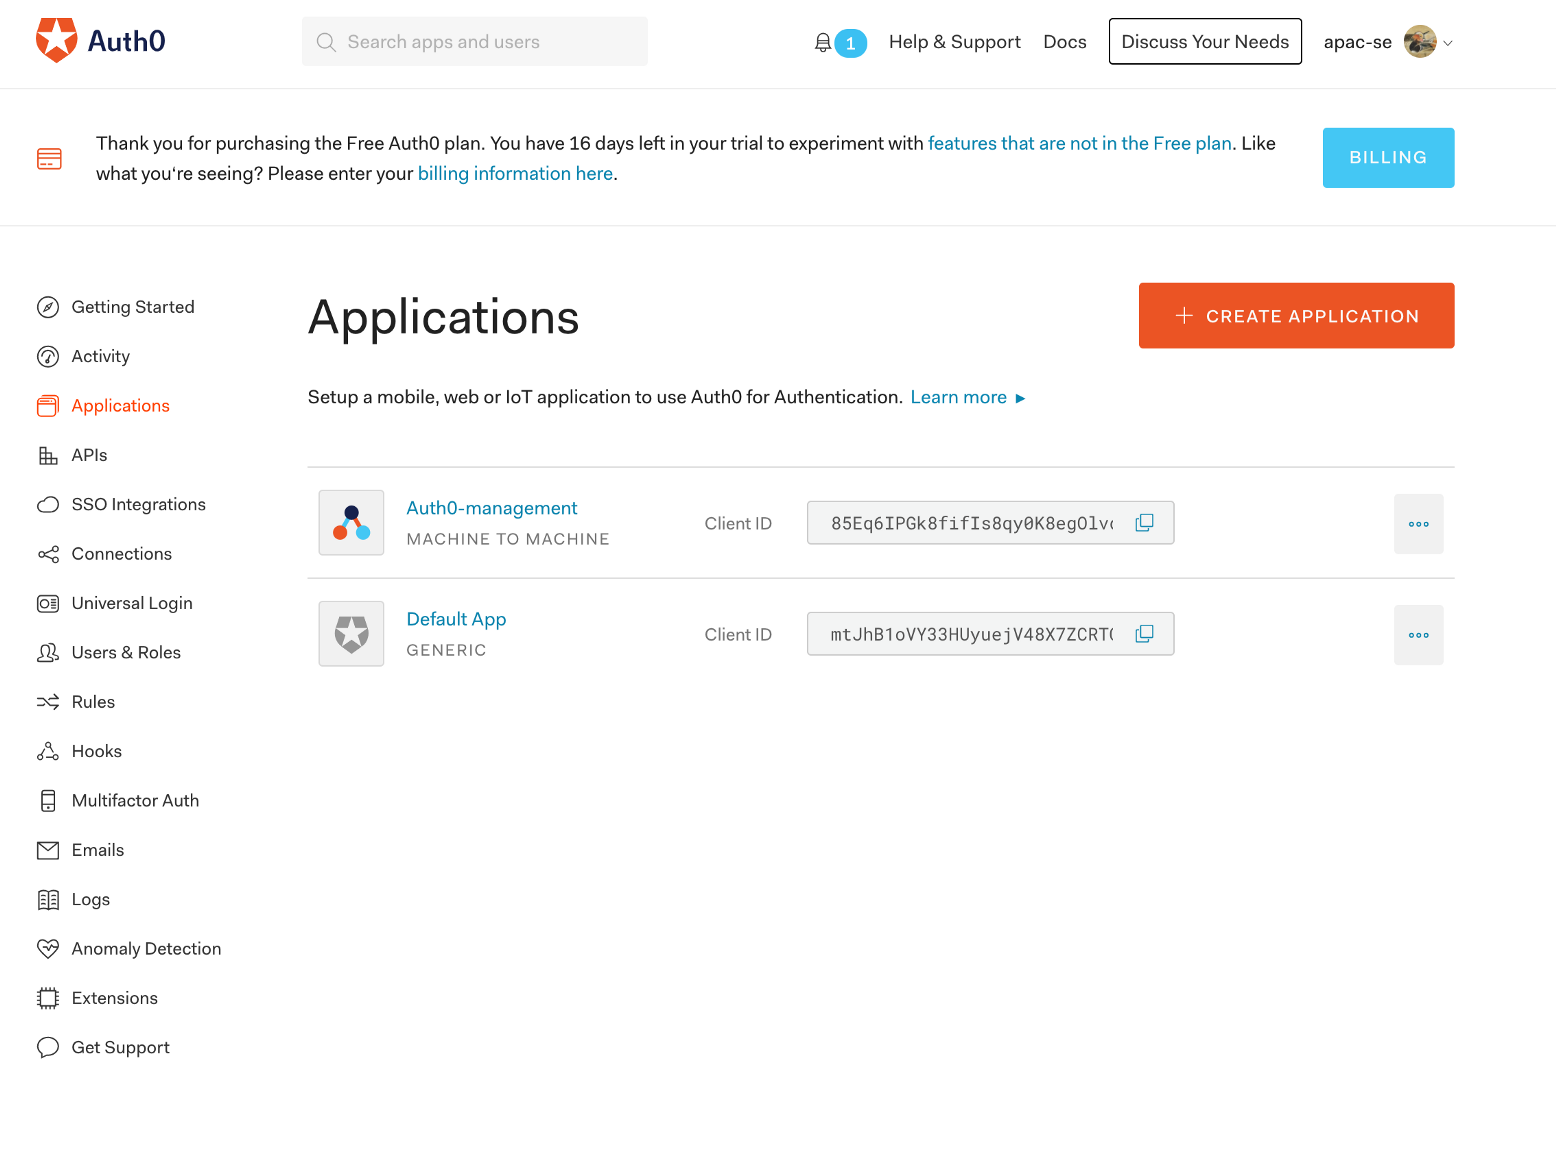
»Setting Up Auth0
Create a new application in Auth0:
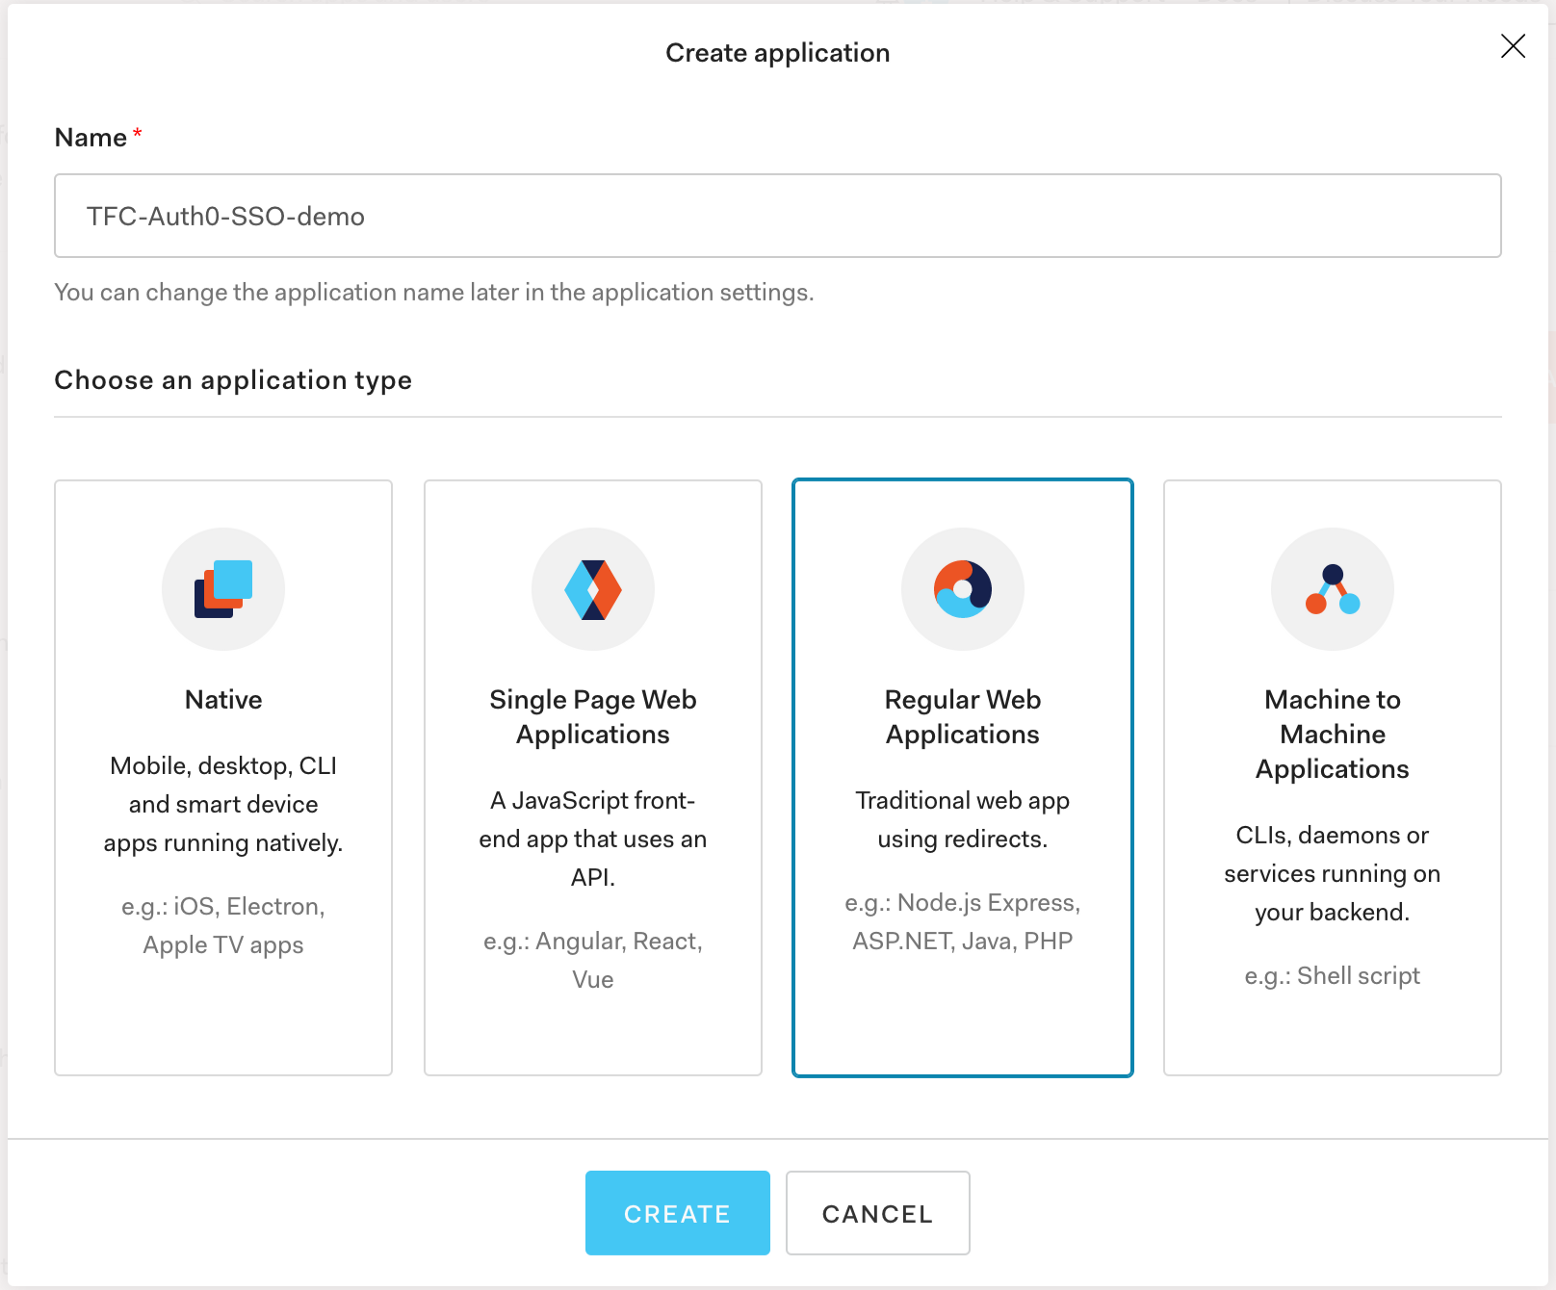
Give it a name, and select Regular Web Applications:
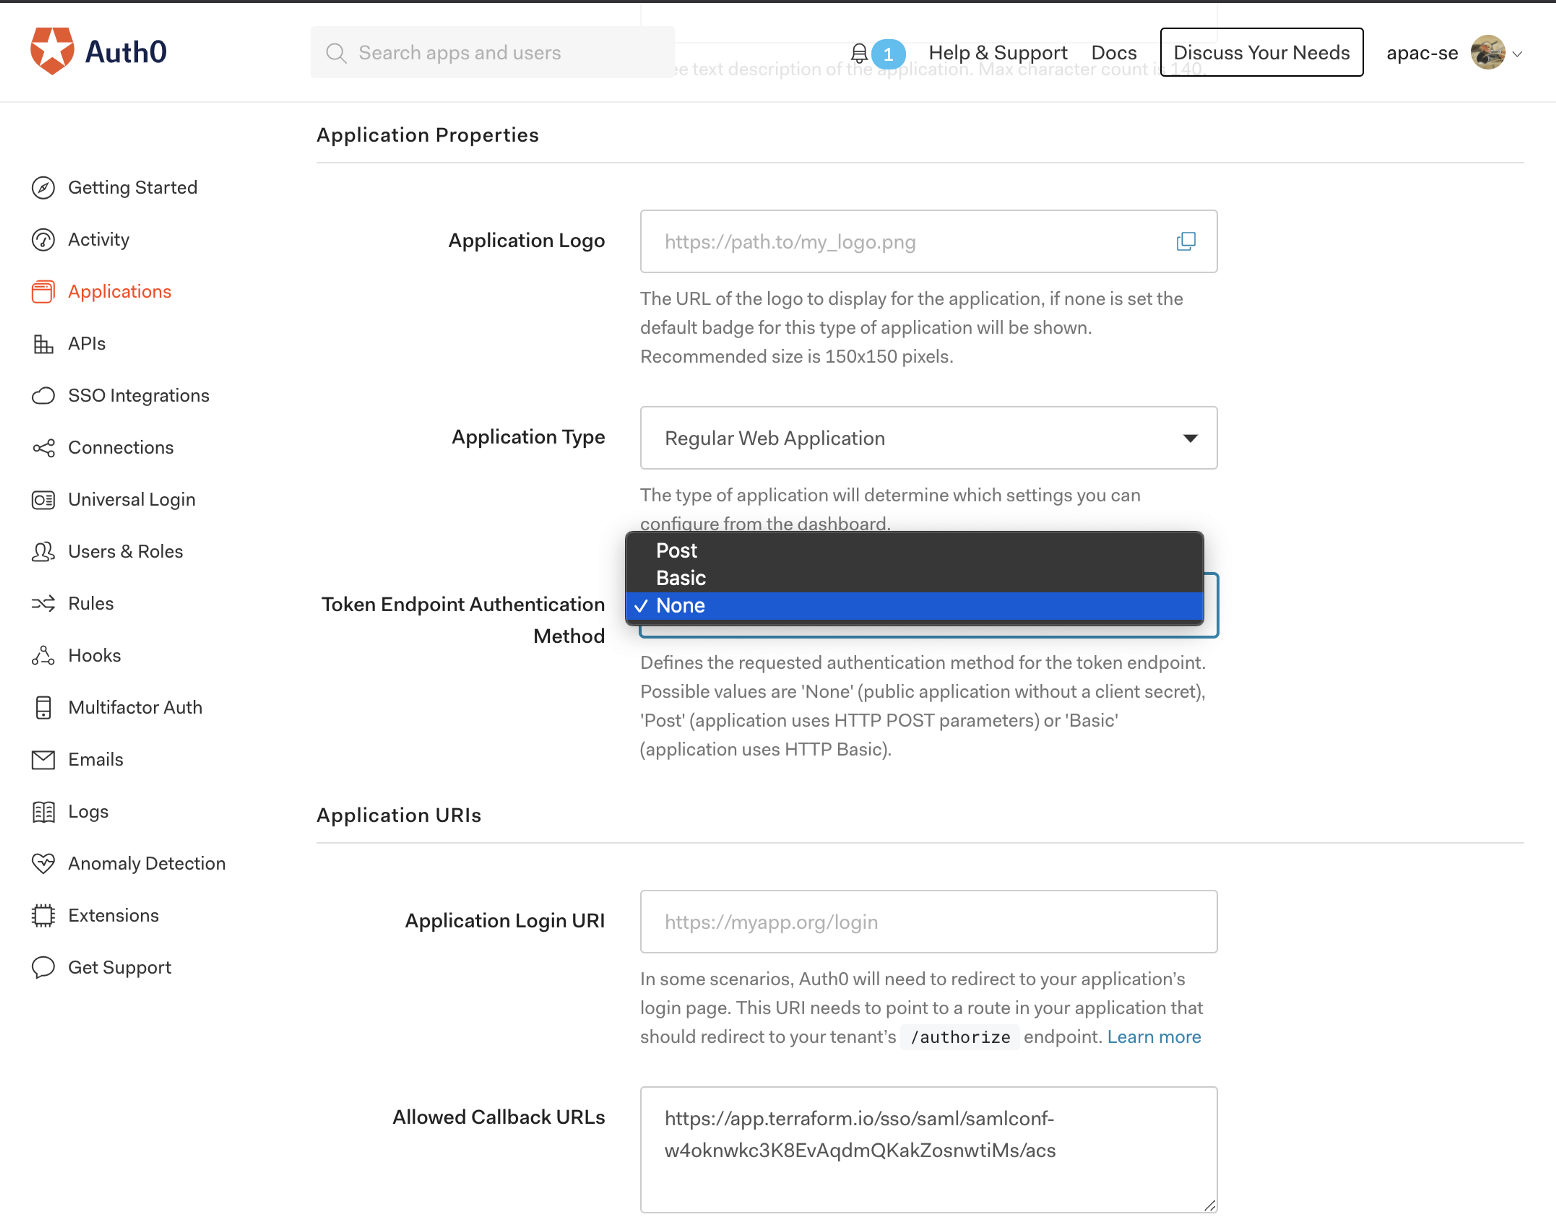
Authentication between Auth0 and Terraform Cloud is not done via HTTP (The authentication will be done on the SAML layer), so turn Token Endpoint Authentication Method off:
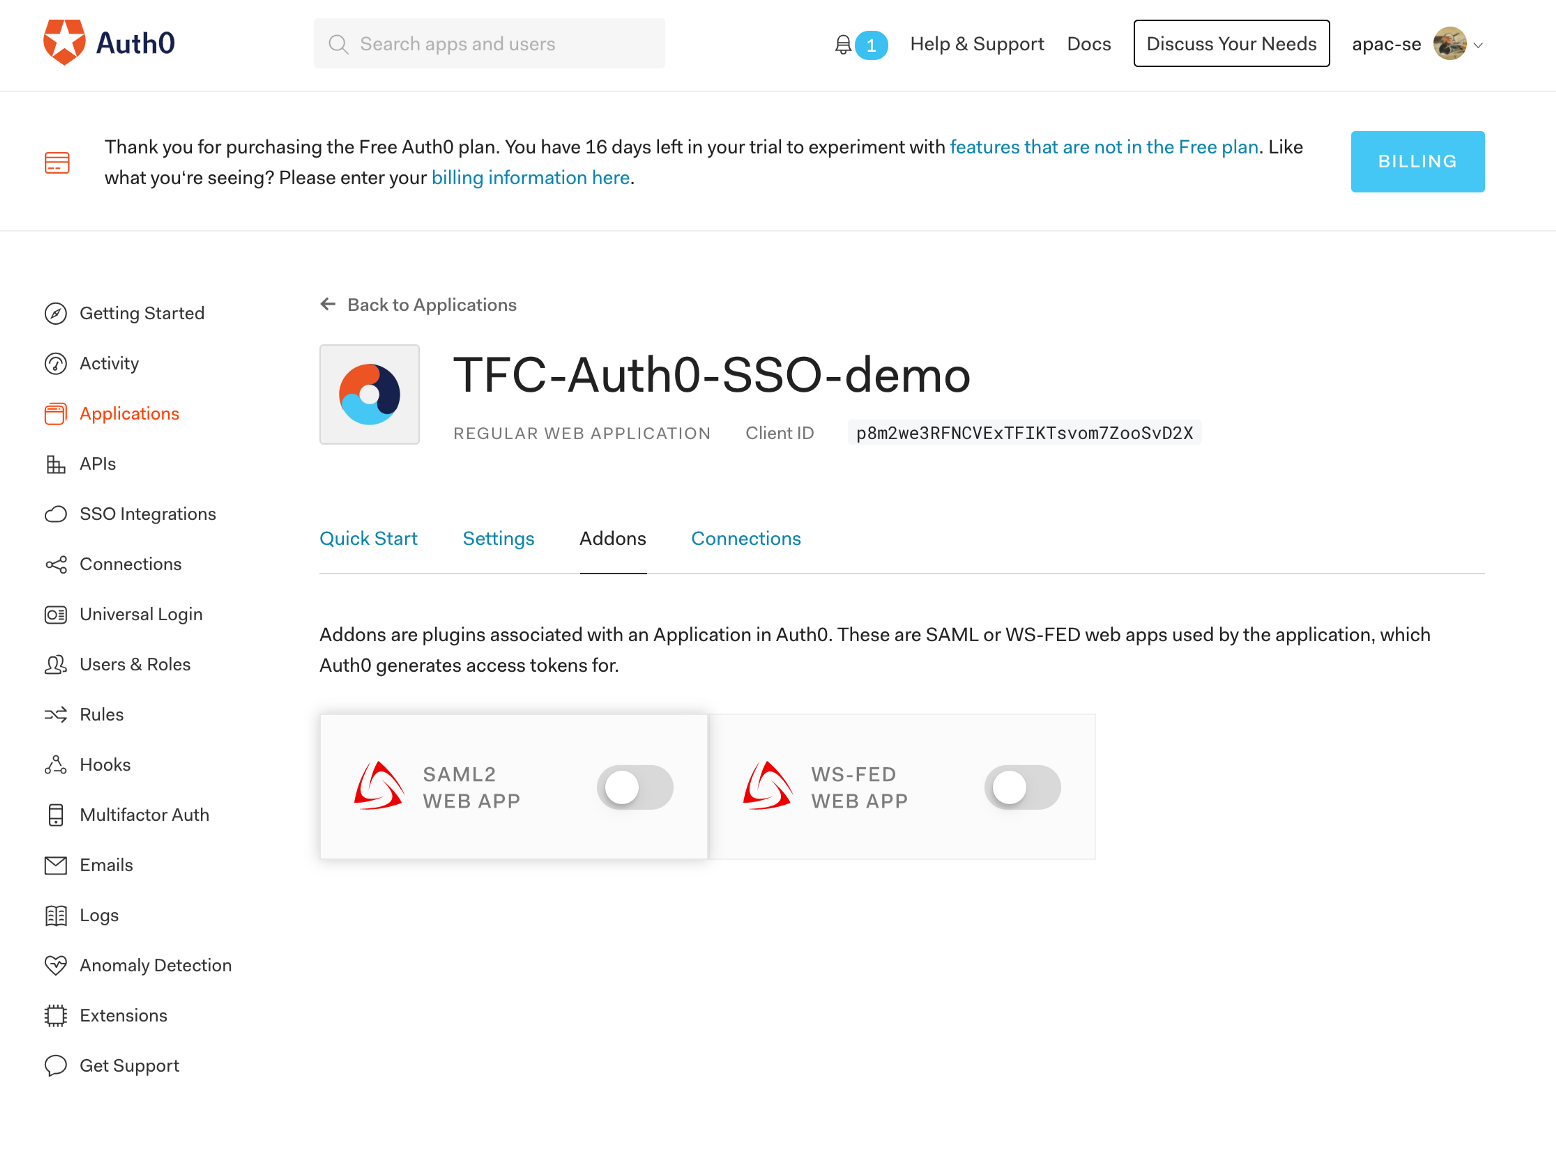
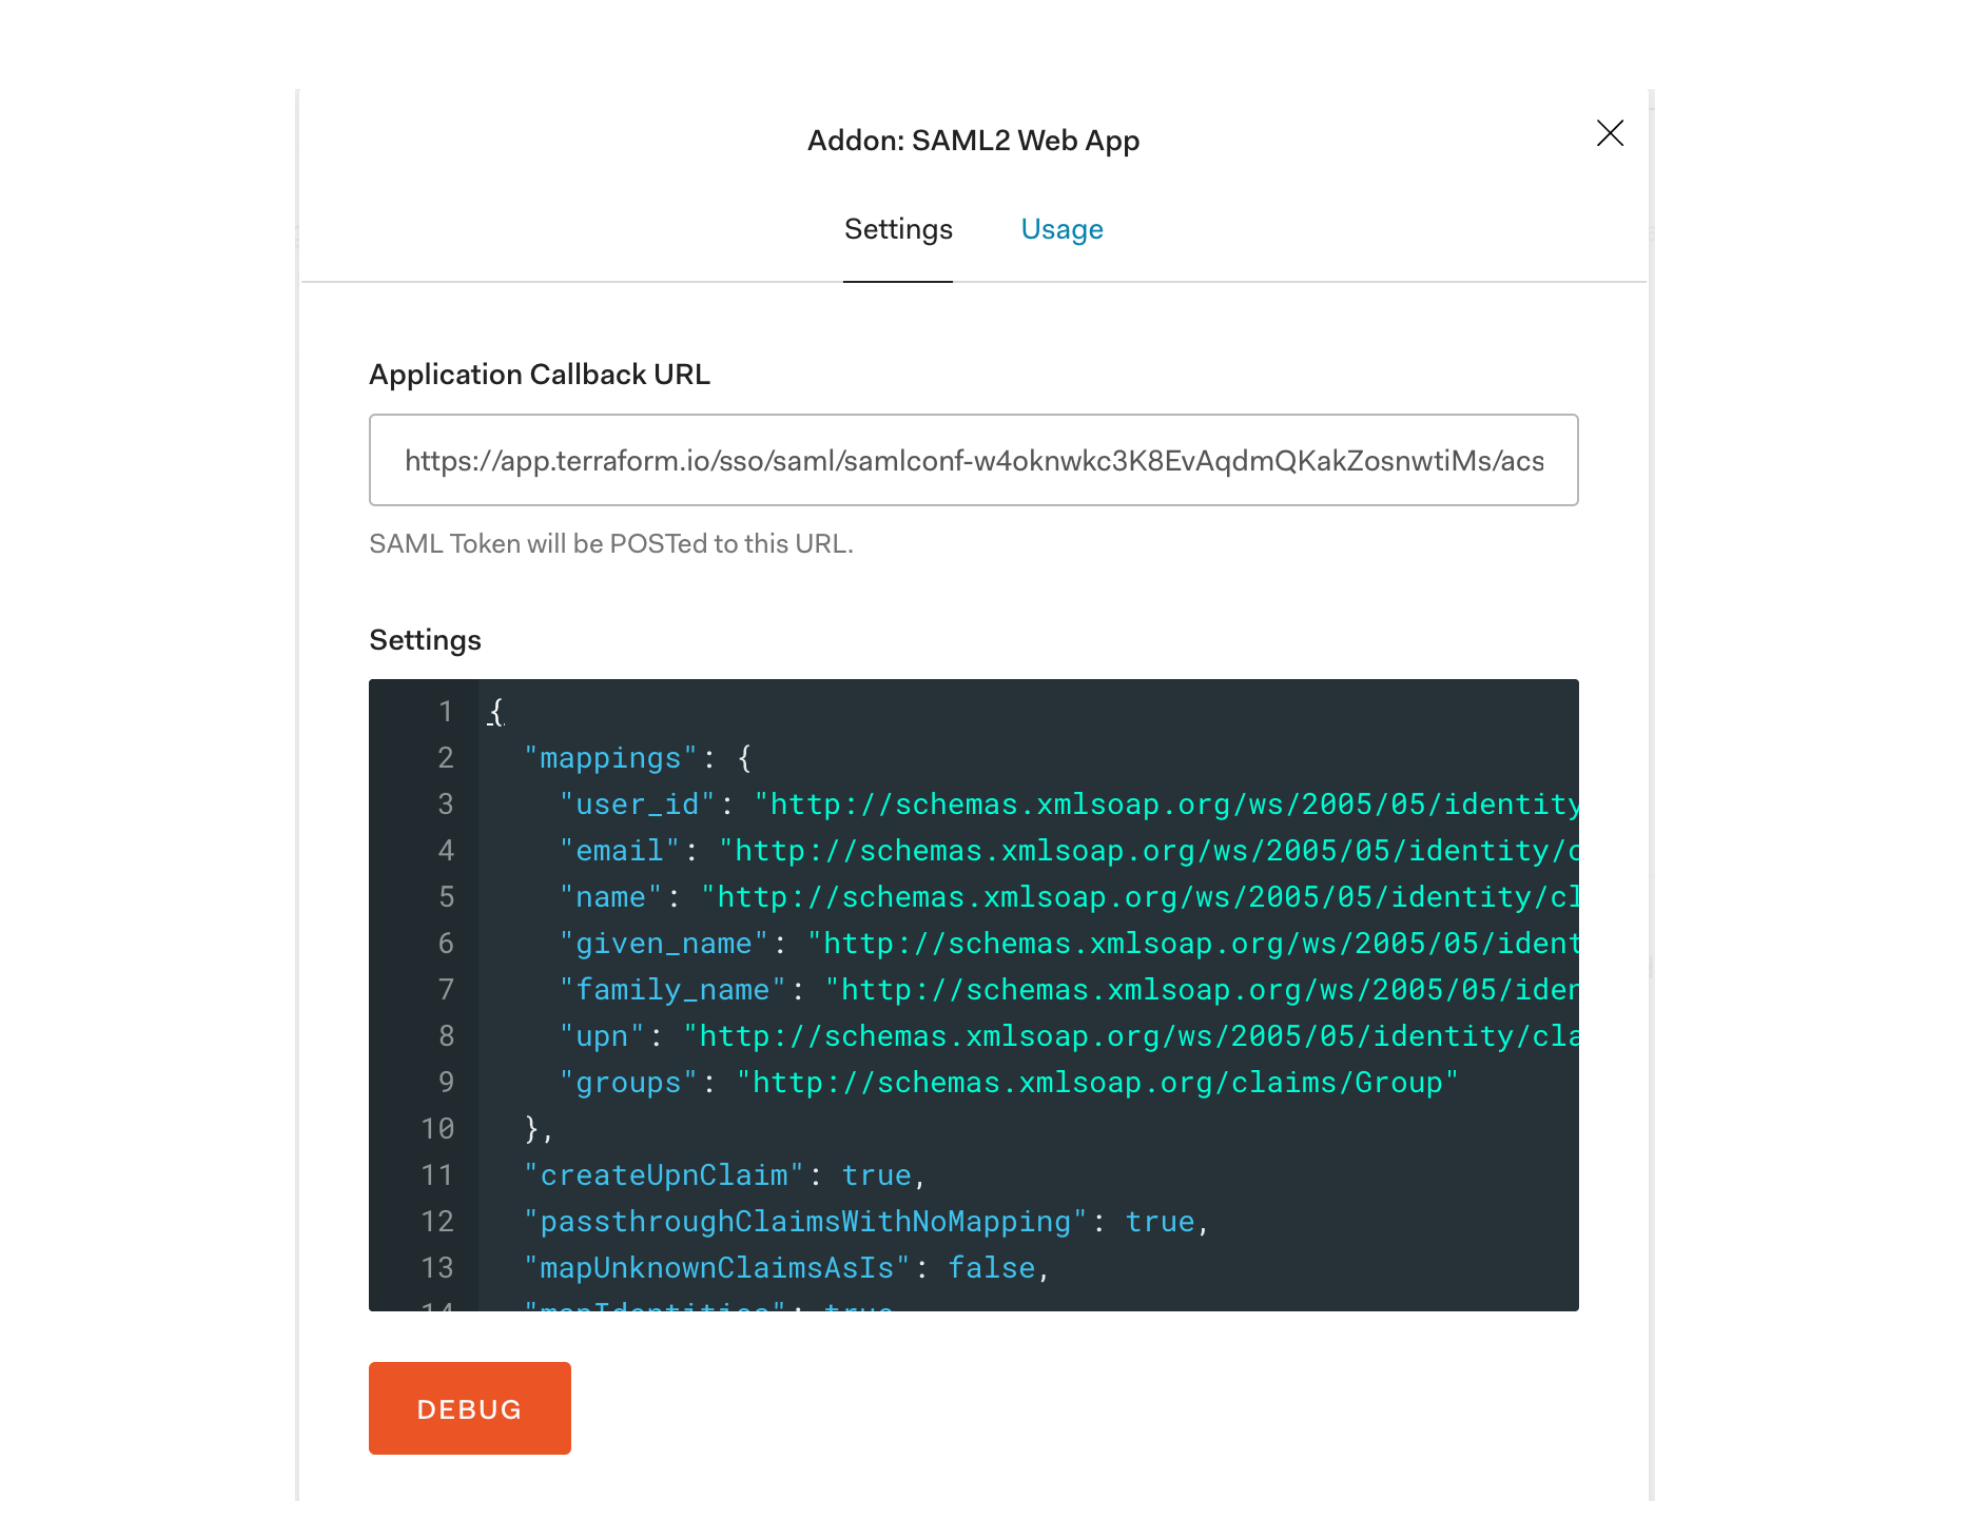
In the Addon tab, enable SAML2 WEB APP addon:
In the settings page, replace the contents in the settings block with those shown below. This JSON setting will return the email address as the username, which is required by Terraform Cloud.
{
  "mappings": {
    "user_id":     "http://schemas.xmlsoap.org/ws/2005/05/identity/claims/nameidentifier",
    "email":       "http://schemas.xmlsoap.org/ws/2005/05/identity/claims/emailaddress",
    "name":        "http://schemas.xmlsoap.org/ws/2005/05/identity/claims/name",
    "given_name":  "http://schemas.xmlsoap.org/ws/2005/05/identity/claims/givenname",
    "family_name": "http://schemas.xmlsoap.org/ws/2005/05/identity/claims/surname",
    "upn":         "http://schemas.xmlsoap.org/ws/2005/05/identity/claims/upn",
    "groups":      "http://schemas.xmlsoap.org/claims/Group"
  },
  "createUpnClaim":       true,
  "passthroughClaimsWithNoMapping": true,
  "mapUnknownClaimsAsIs": false,
  "mapIdentities":        true,
  "signatureAlgorithm":   "rsa-sha1",
  "digestAlgorithm":      "sha1",
  "lifetimeInSeconds":    3600,
  "signResponse":         false,
  "typedAttributes":      true,
  "includeAttributeNameFormat":  true,
  "nameIdentifierFormat": "urn:oasis:names:tc:SAML:1.1:nameid-format:unspecified",
  "nameIdentifierProbes": [
    "http://schemas.xmlsoap.org/ws/2005/05/identity/claims/emailaddress",
    "http://schemas.xmlsoap.org/ws/2005/05/identity/claims/name"
  ],
  "authnContextClassRef": "urn:oasis:names:tc:SAML:2.0:ac:classes:unspecified",
  "logout": {
    "callback": "http://foo/logout",
    "slo_enabled": true
  },
  "binding": "urn:oasis:names:tc:SAML:2.0:bindings:HTTP-POST"
  }
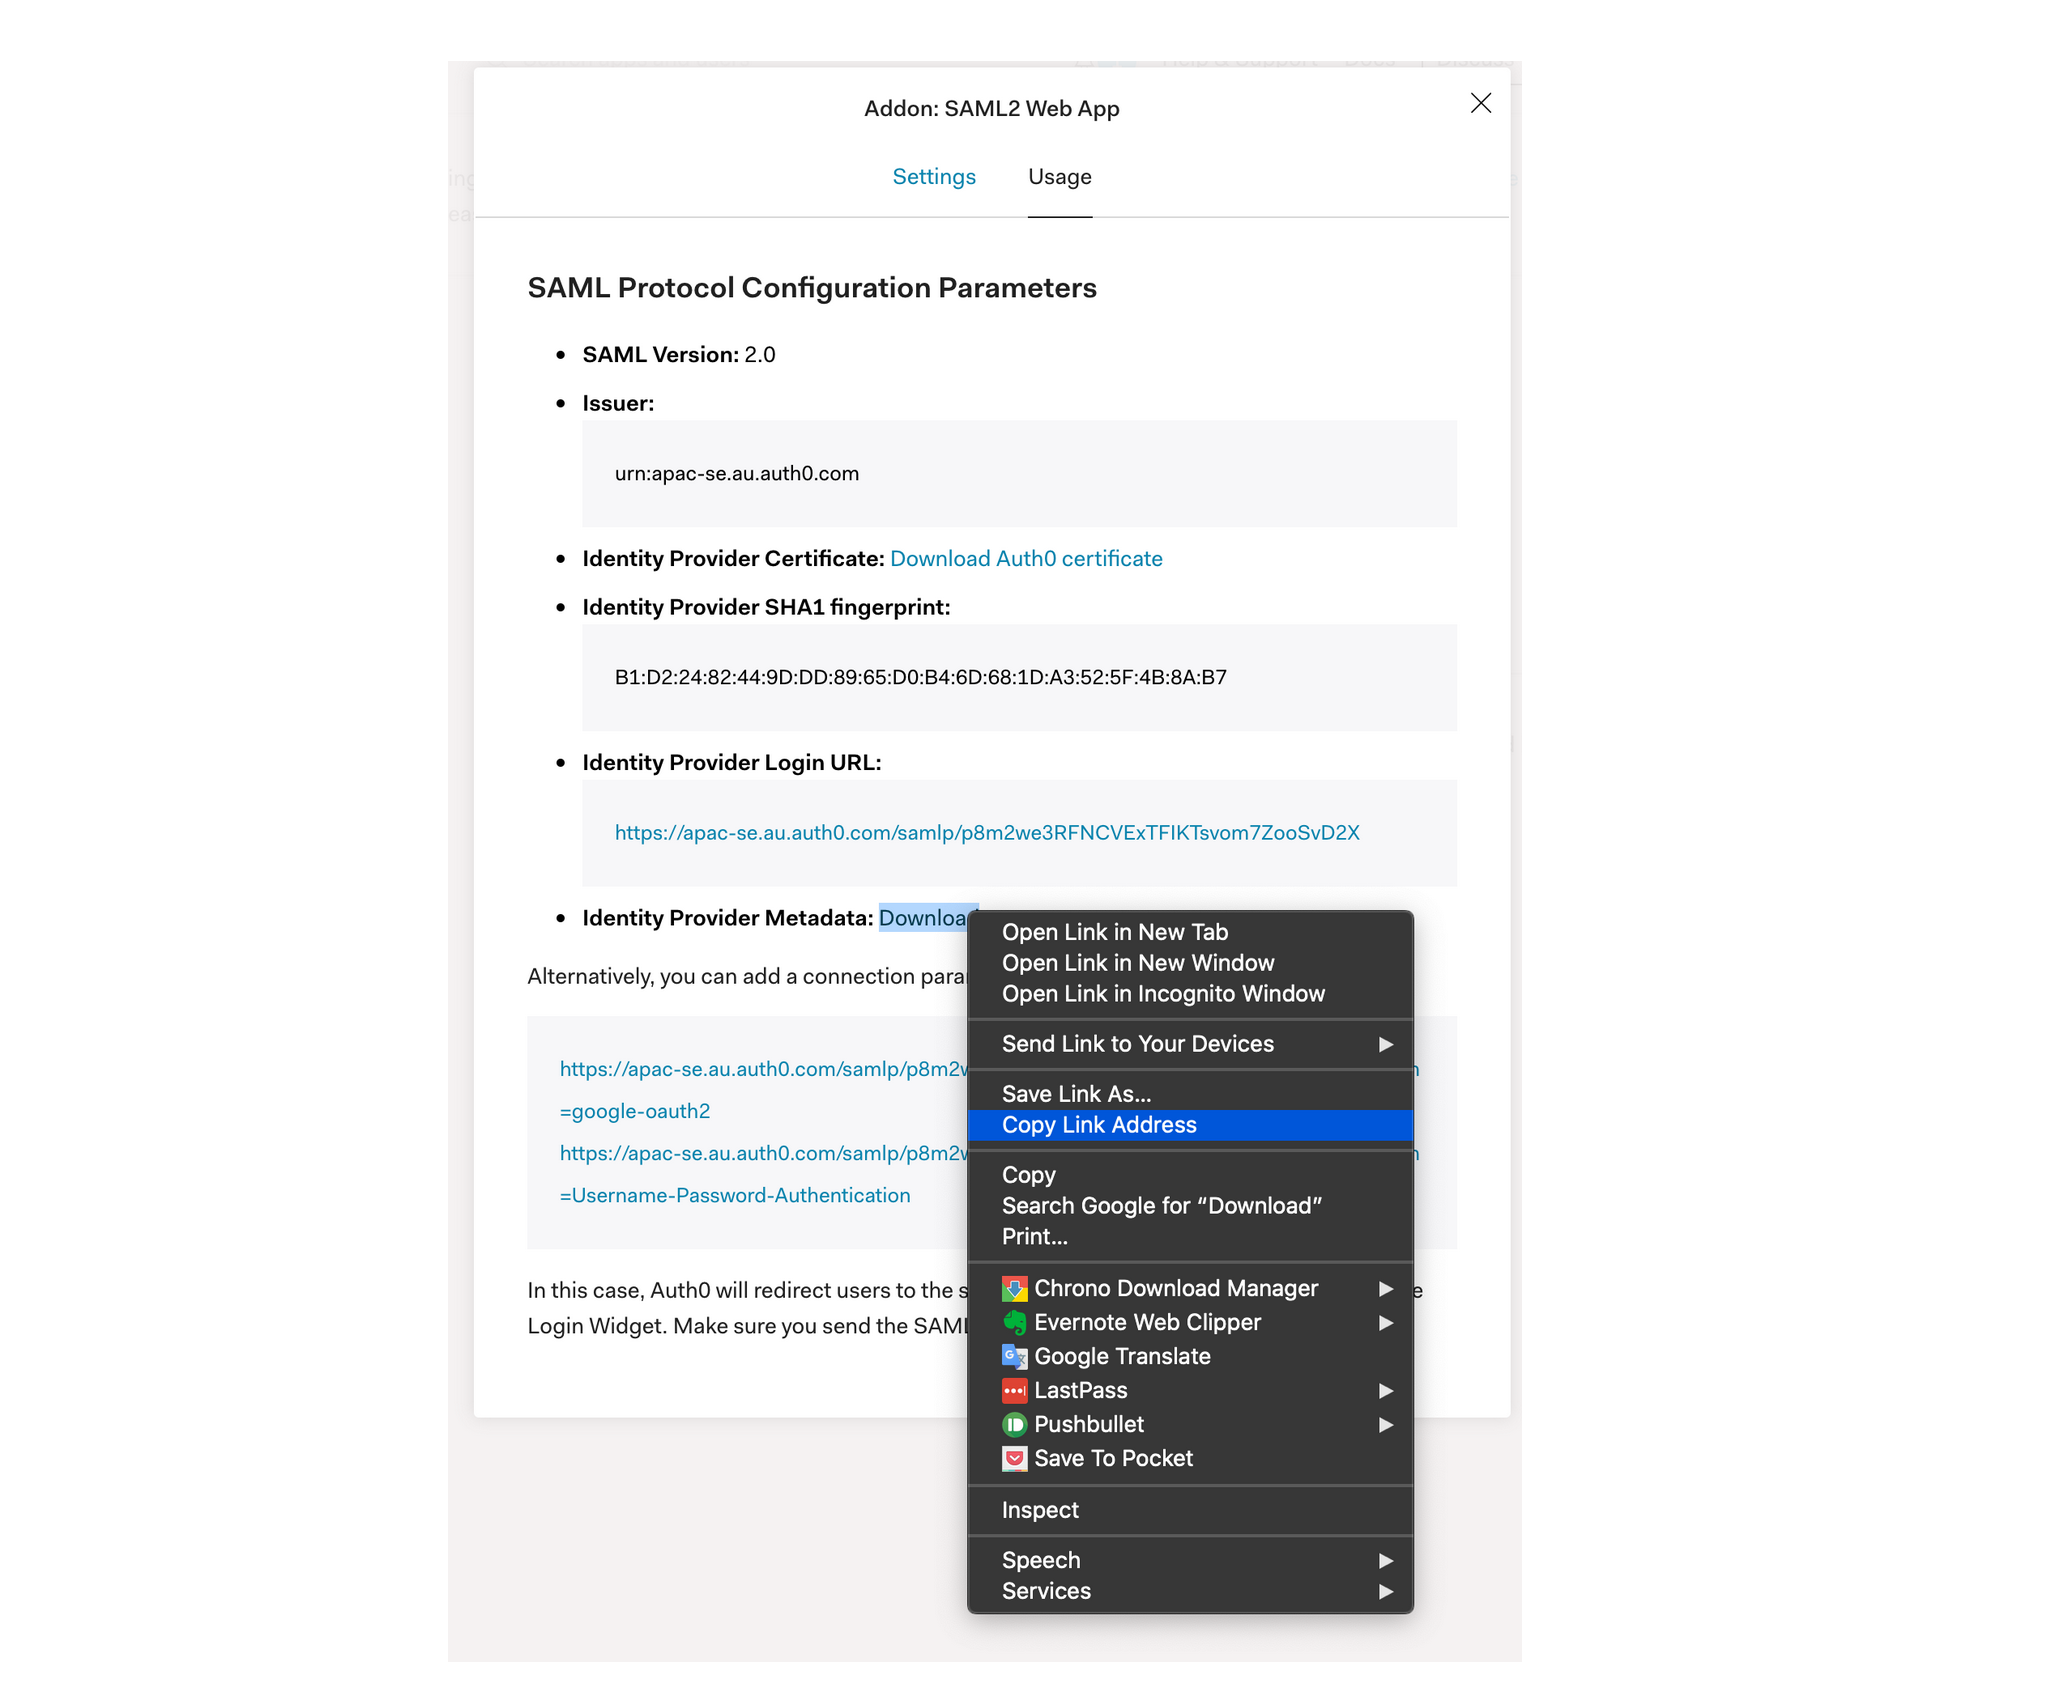
Go to the usage page and copy the link address for Identity Provider Metadata, which you will need later:
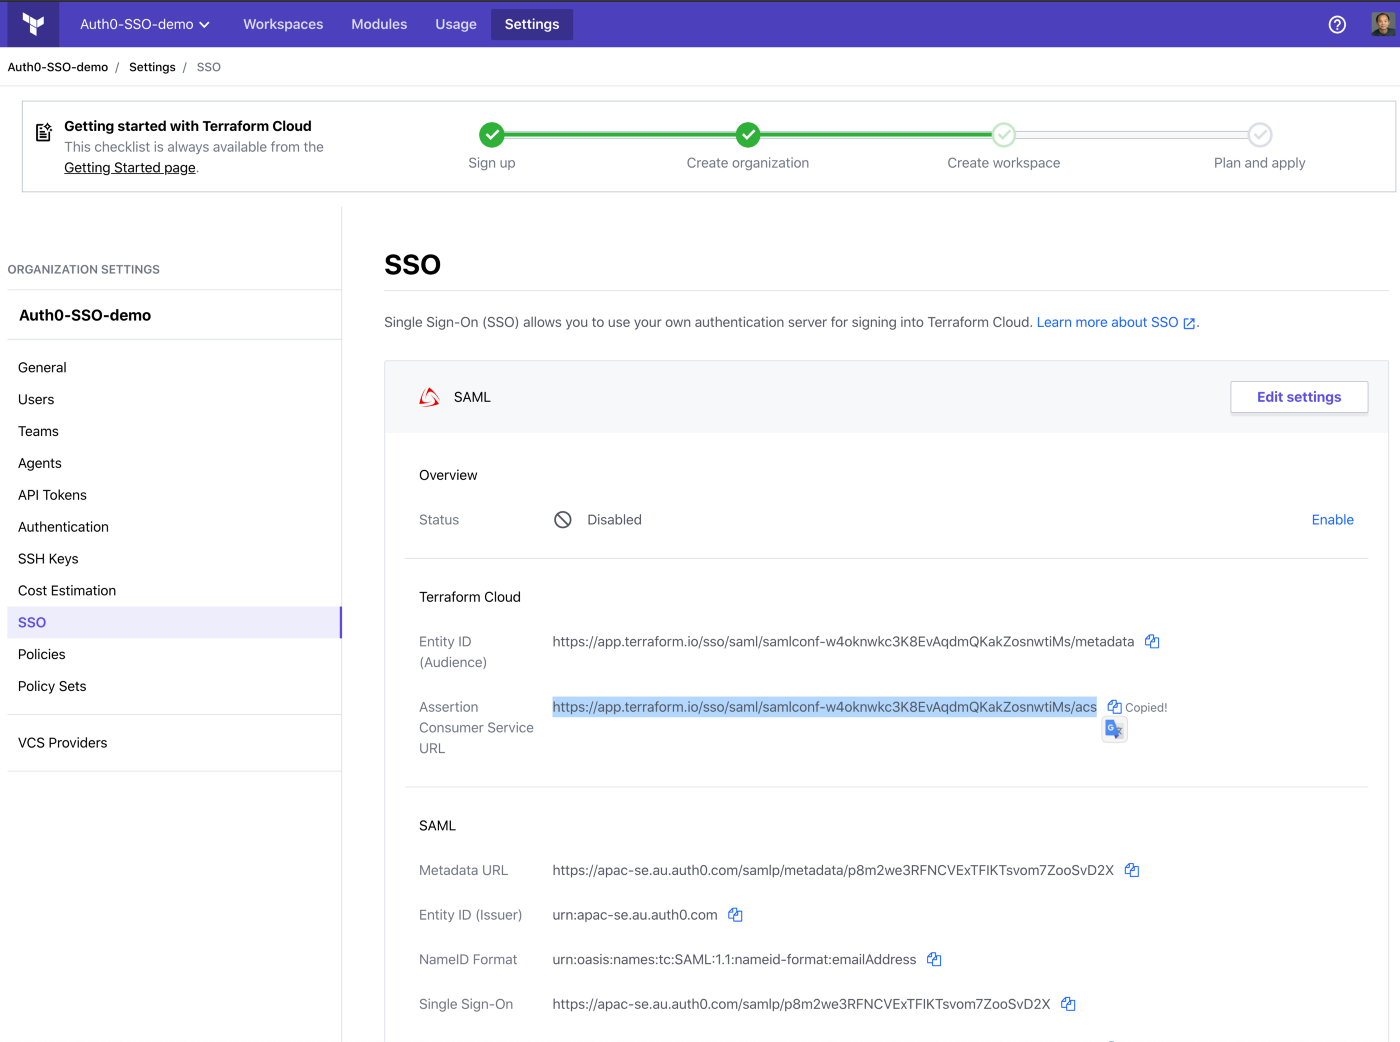
»Setting Up Terraform Cloud
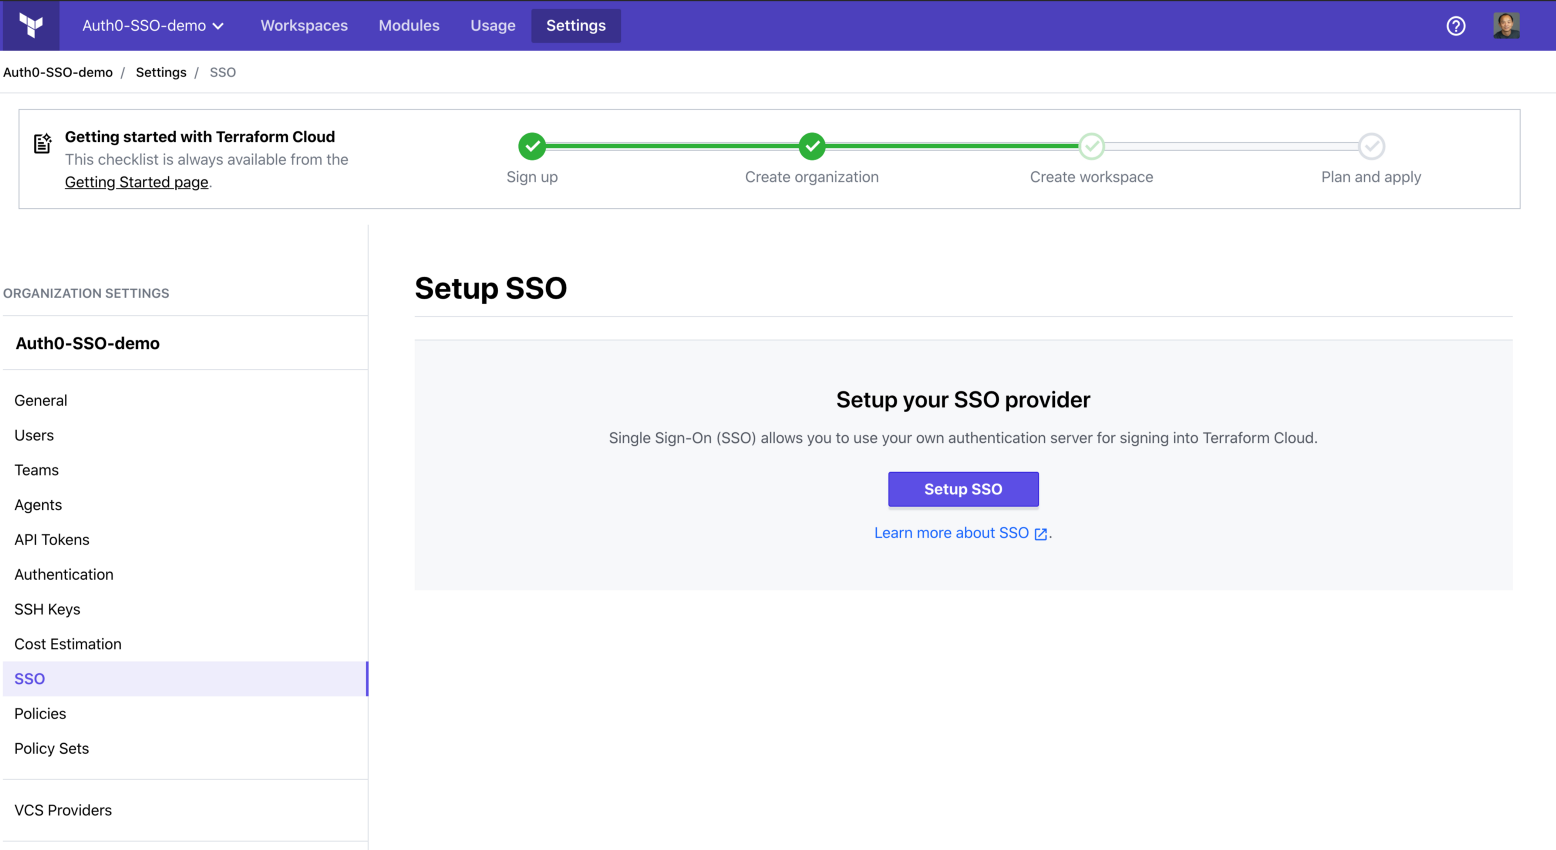
You can access the SSO setup menu from here:
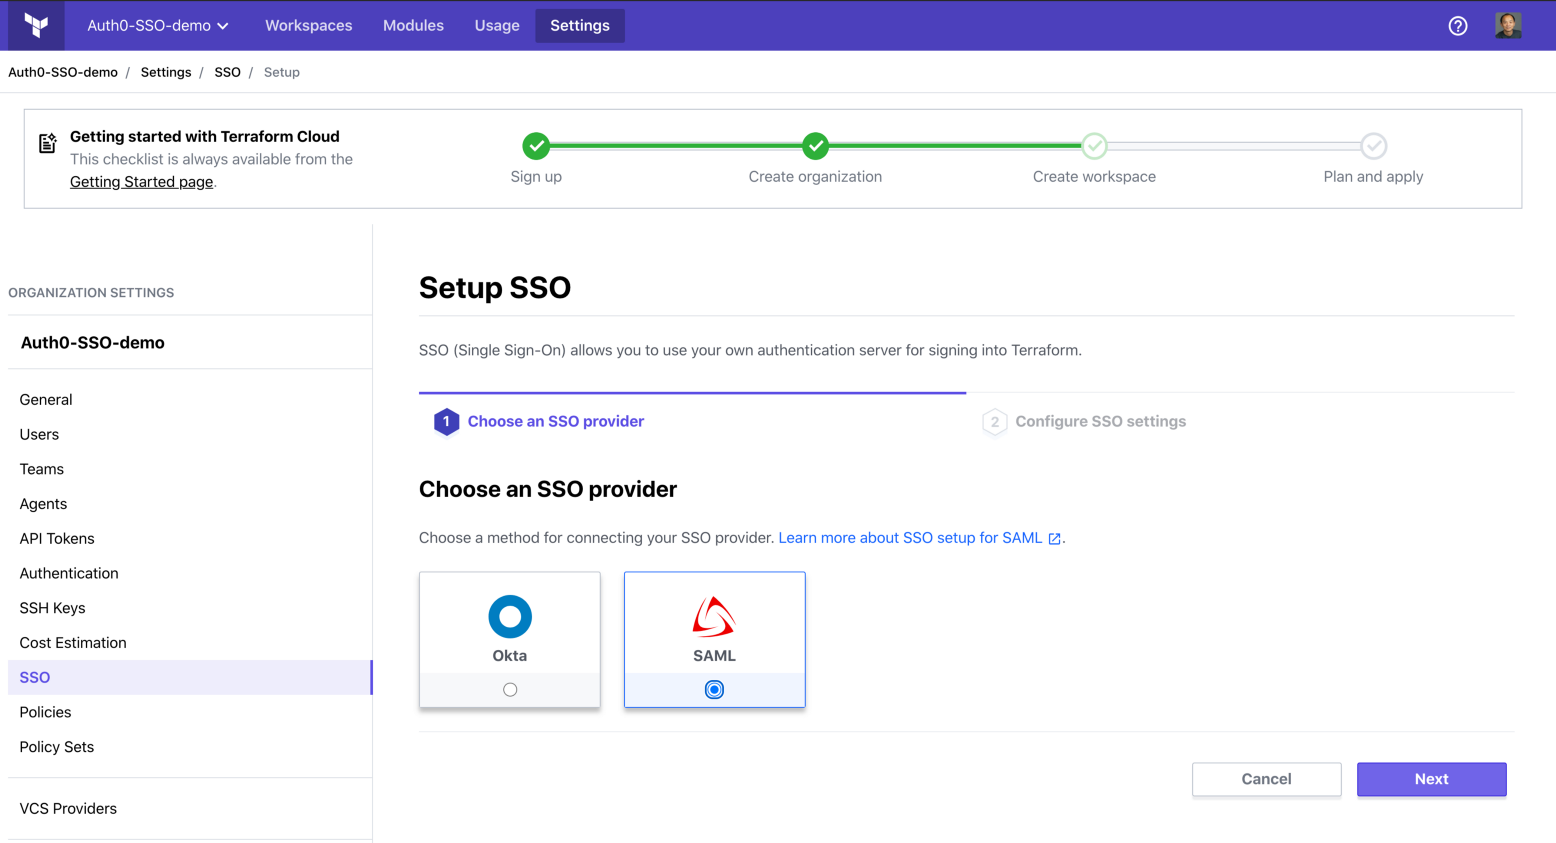
Select SAML:
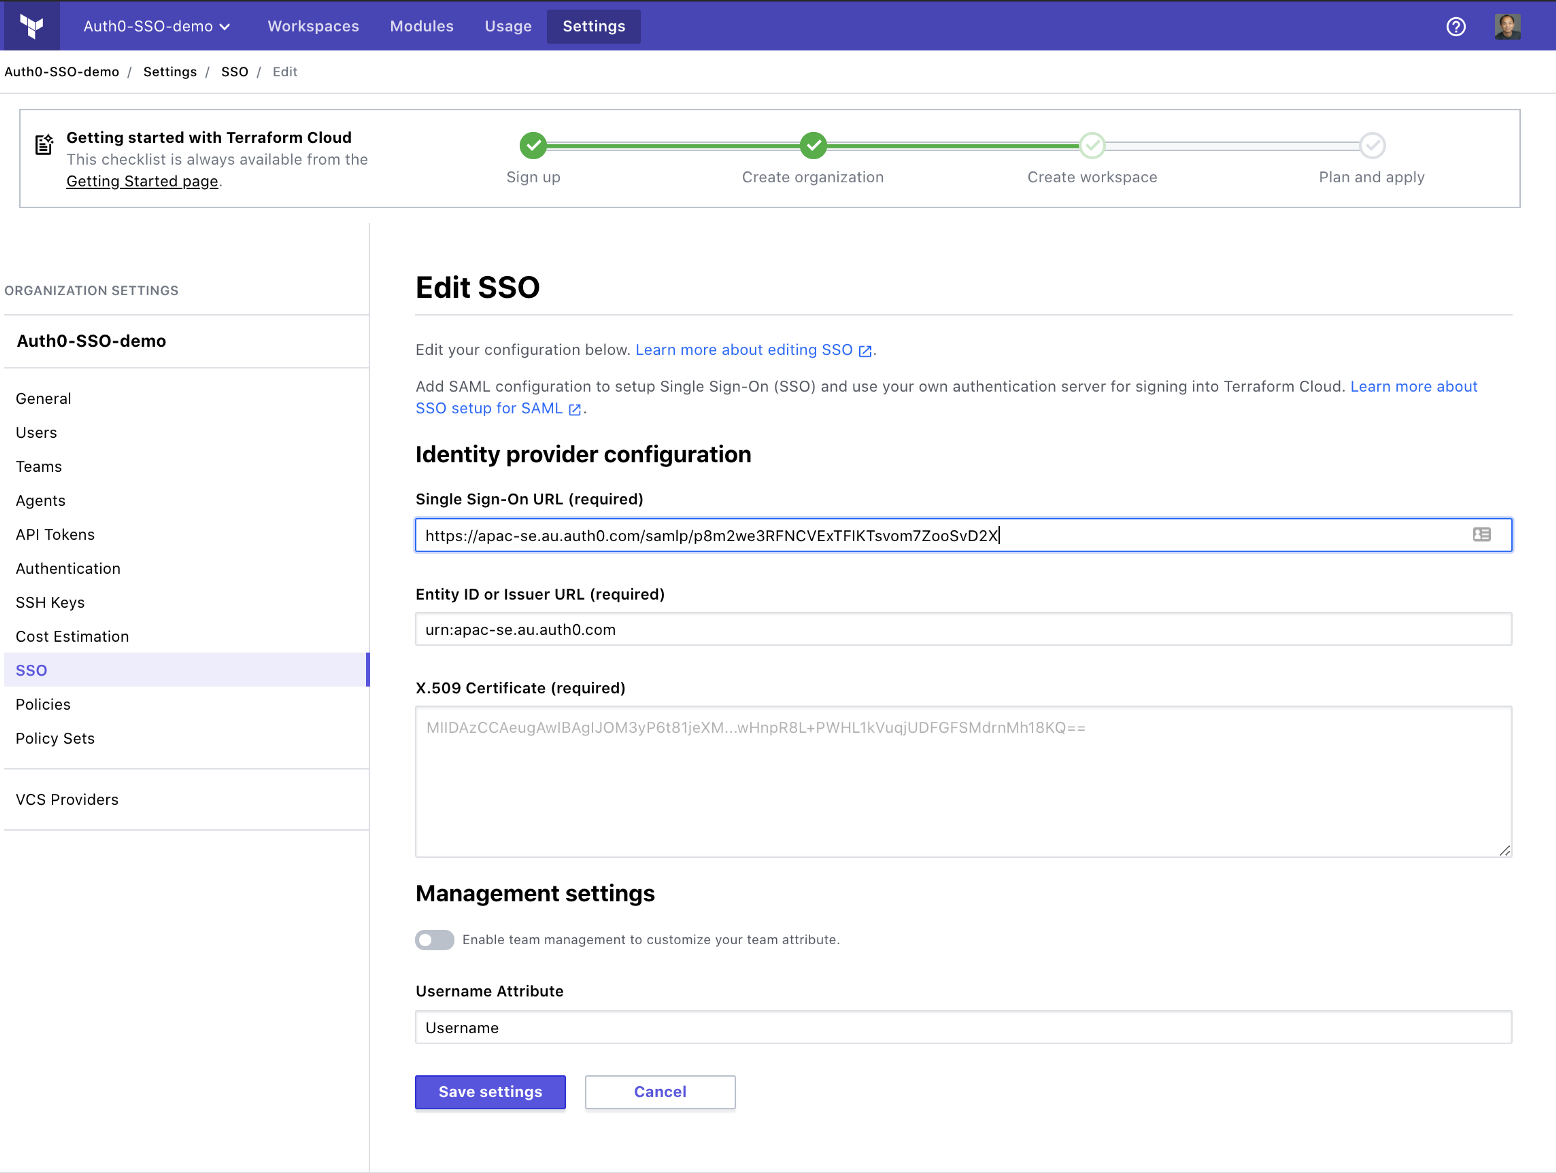
In the Metadata URL field, paste the Identity Provider Metadata URL you copied from the last step, remove the Google Analytics query strings, and turn off team management.
Please note that team management is available in SAML2 integration. I choose not to do so with Auth0 because Auth0 doesn’t support managing google email addresses via API, hence the Terraform provider for Auth0 can’t be used to codify the team permissions. You can use the Terraform provider for Terraform Enterprise to codify the team management, and this repository contains a very simple example.
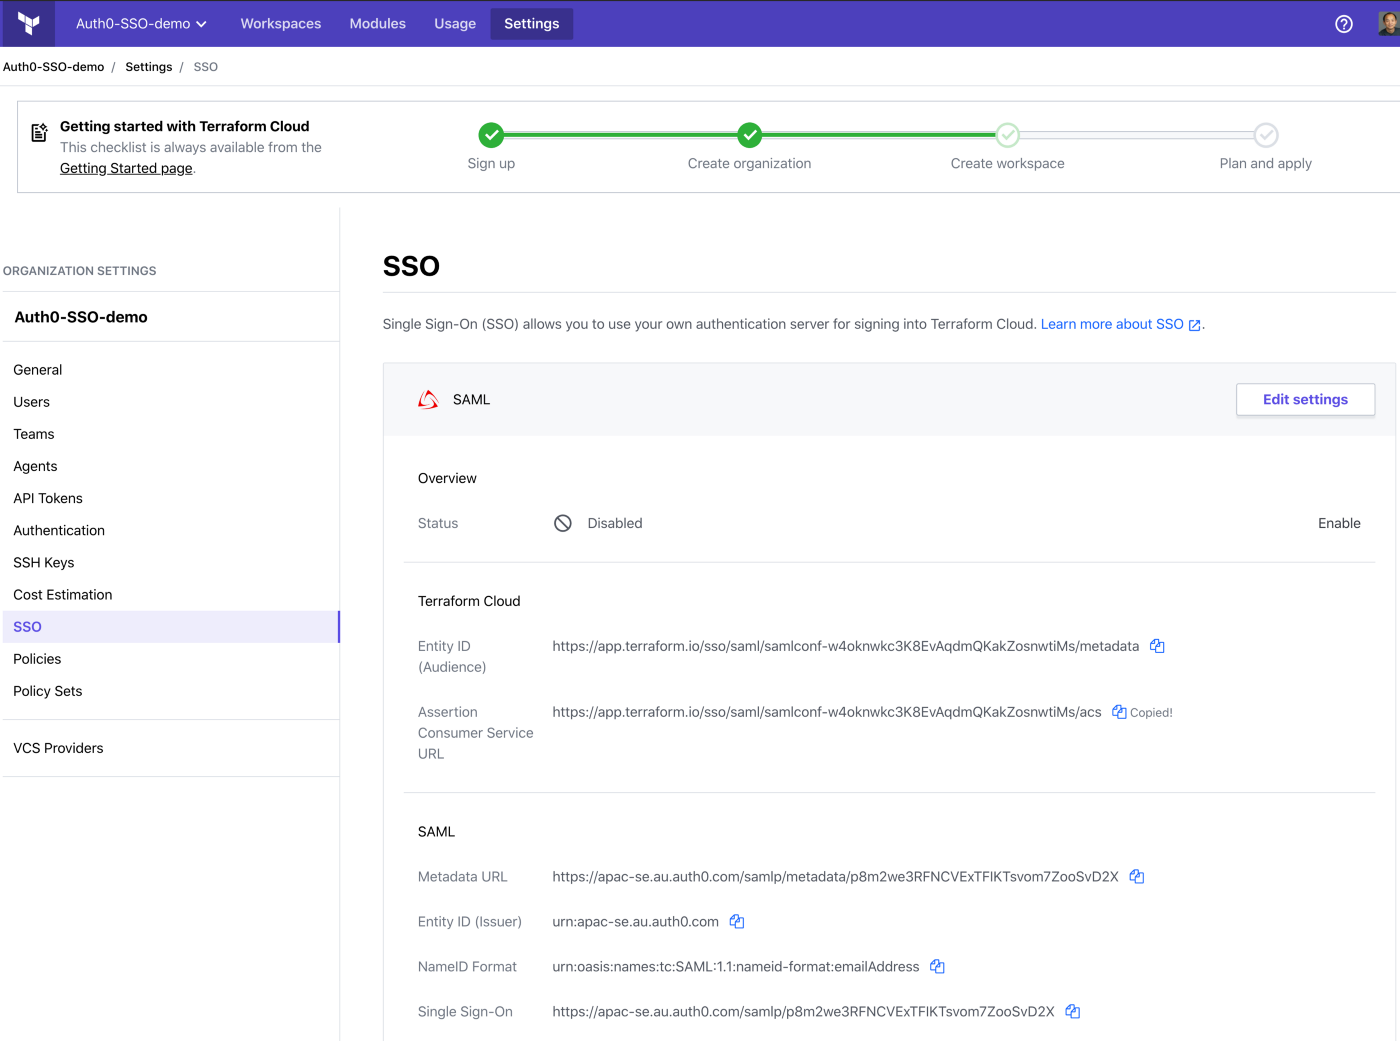
Once saved, you need to copy the Assertion Consumer Service URL:
»Setting Up the SAML 2.0 Connection on Auth0
Paste the Assertion Consumer Service URL from Terraform Cloud to Auth0 Application Callback URL on the settings tab, and save.
Enable the SAML login on Terraform Cloud.
»Test the SSO
You are ready! Let’s try this out by clicking on this link, and typing in your organization name:
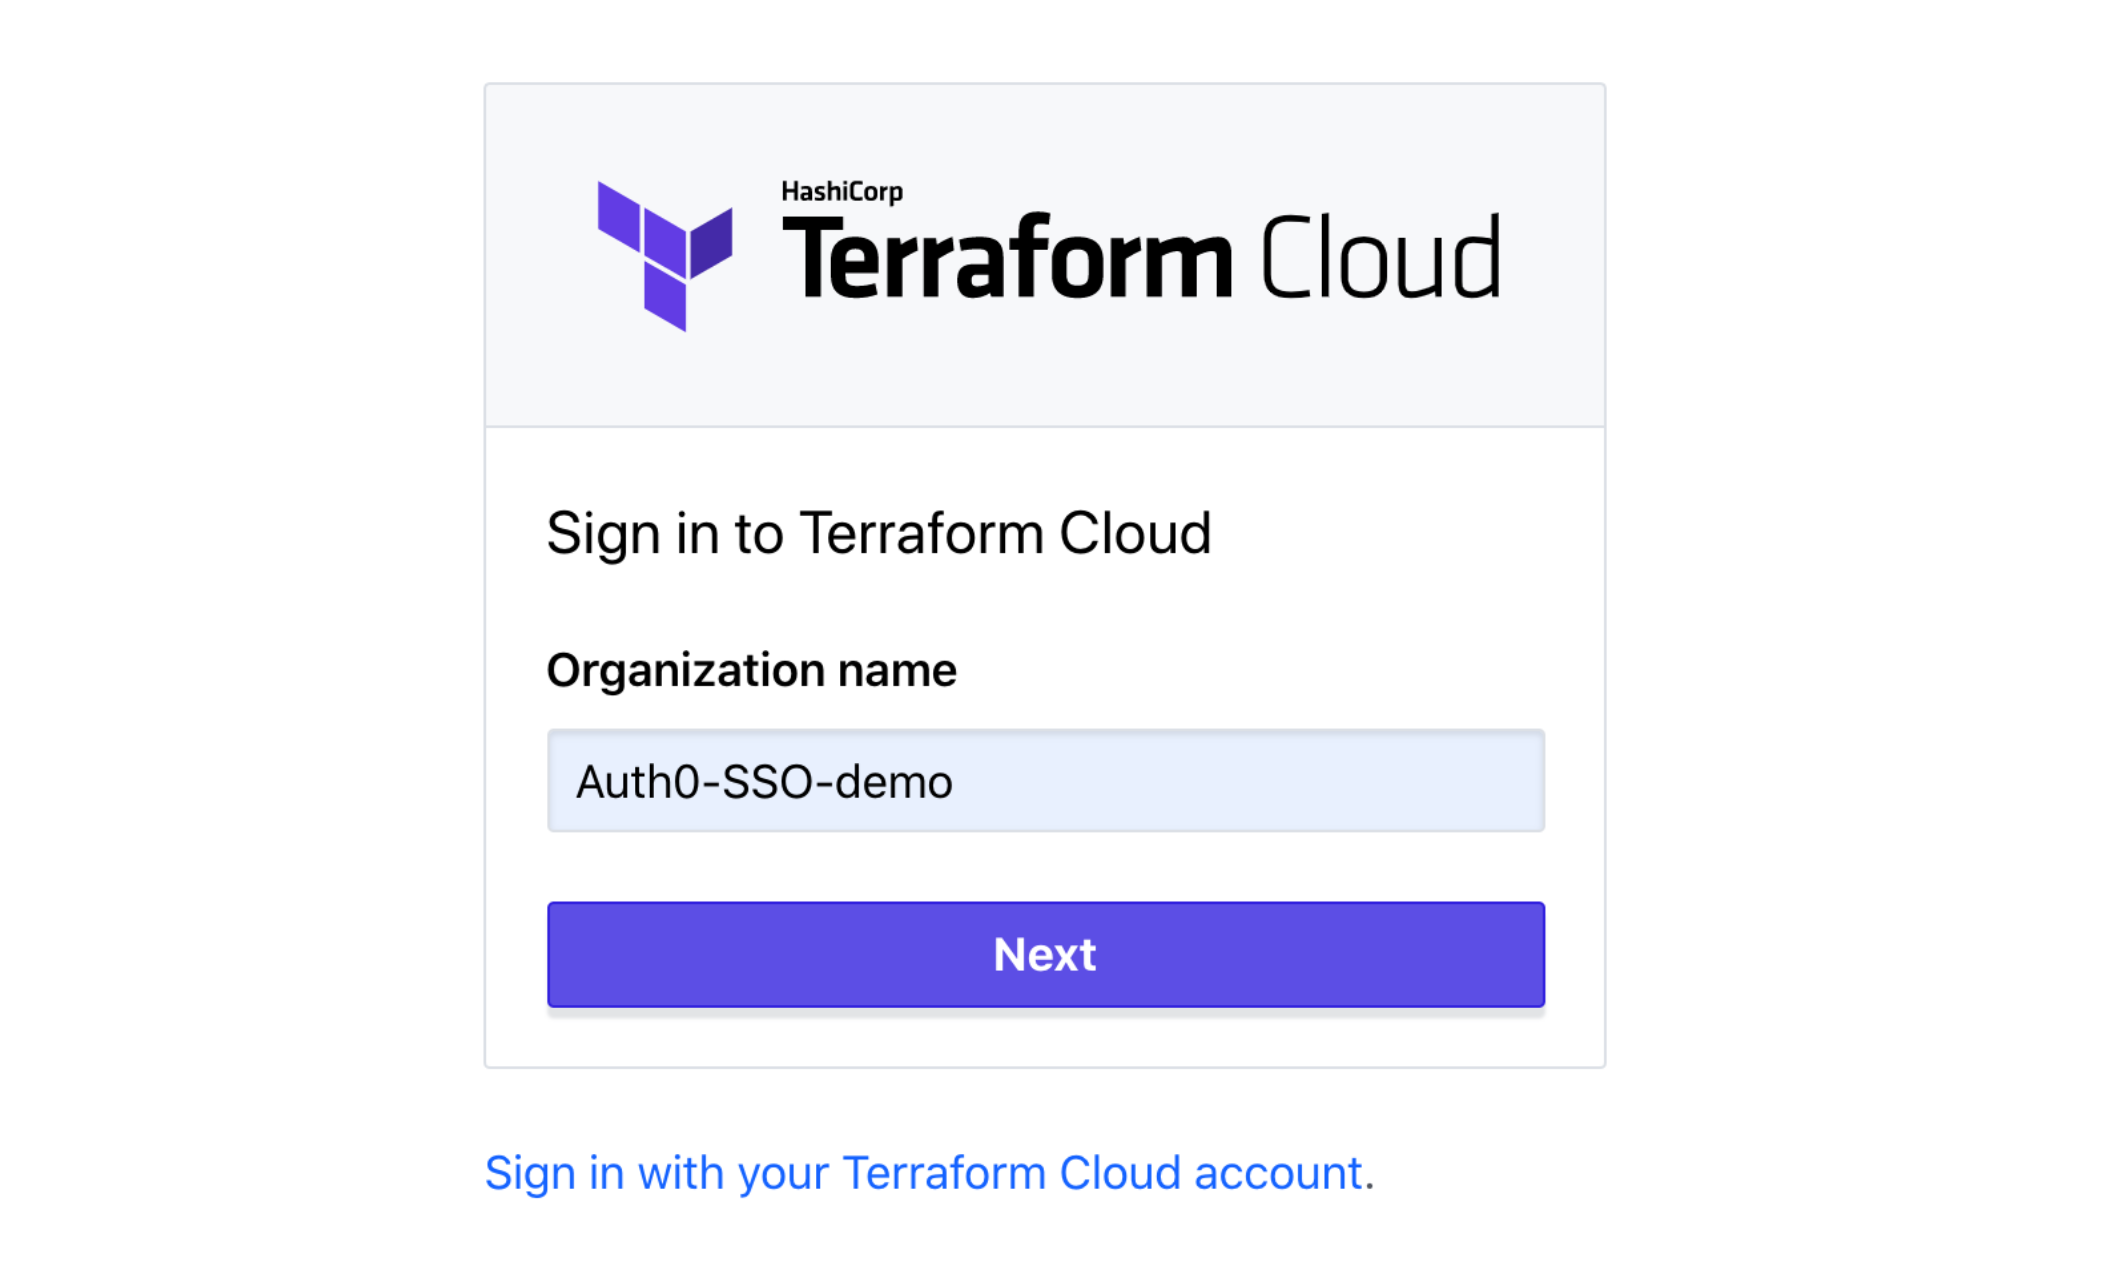
An Auth0 login window will pop up:
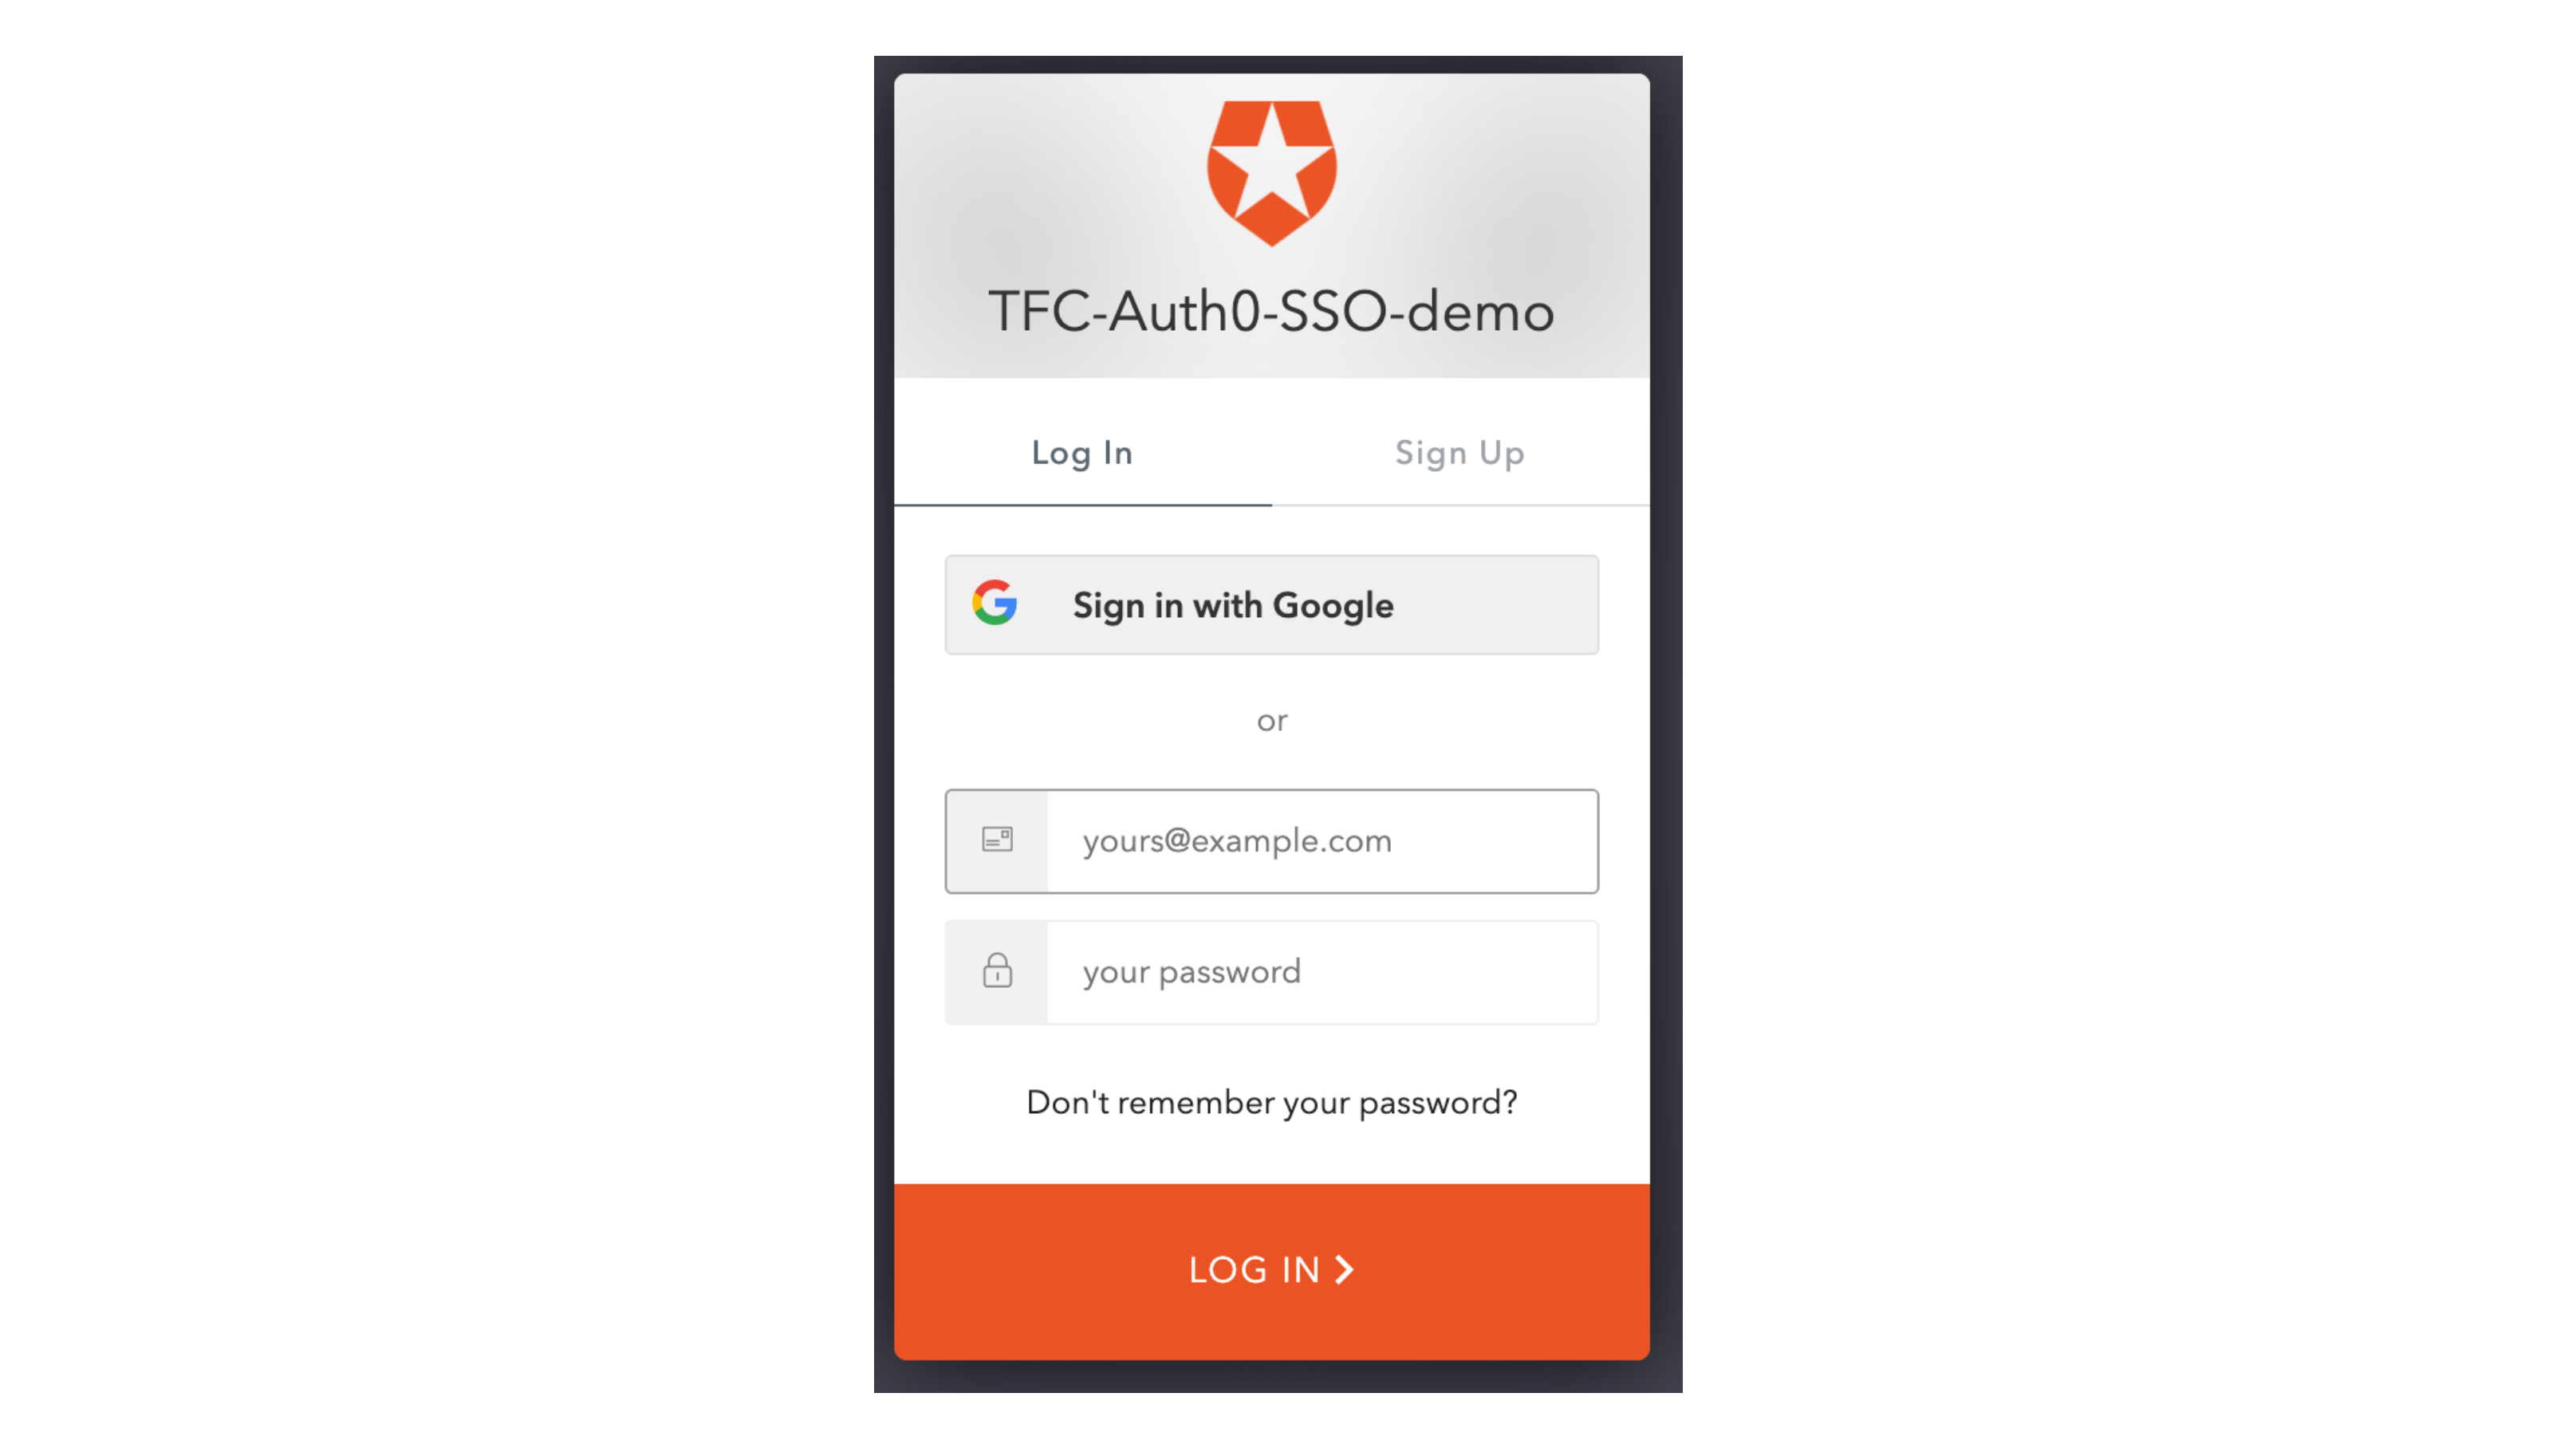
You can use the “Sign in via Google” button to log in. Since this is the first time you are using SSO to sign-in this organization, Terraform Cloud will ask you to confirm your Terraform Cloud account password:
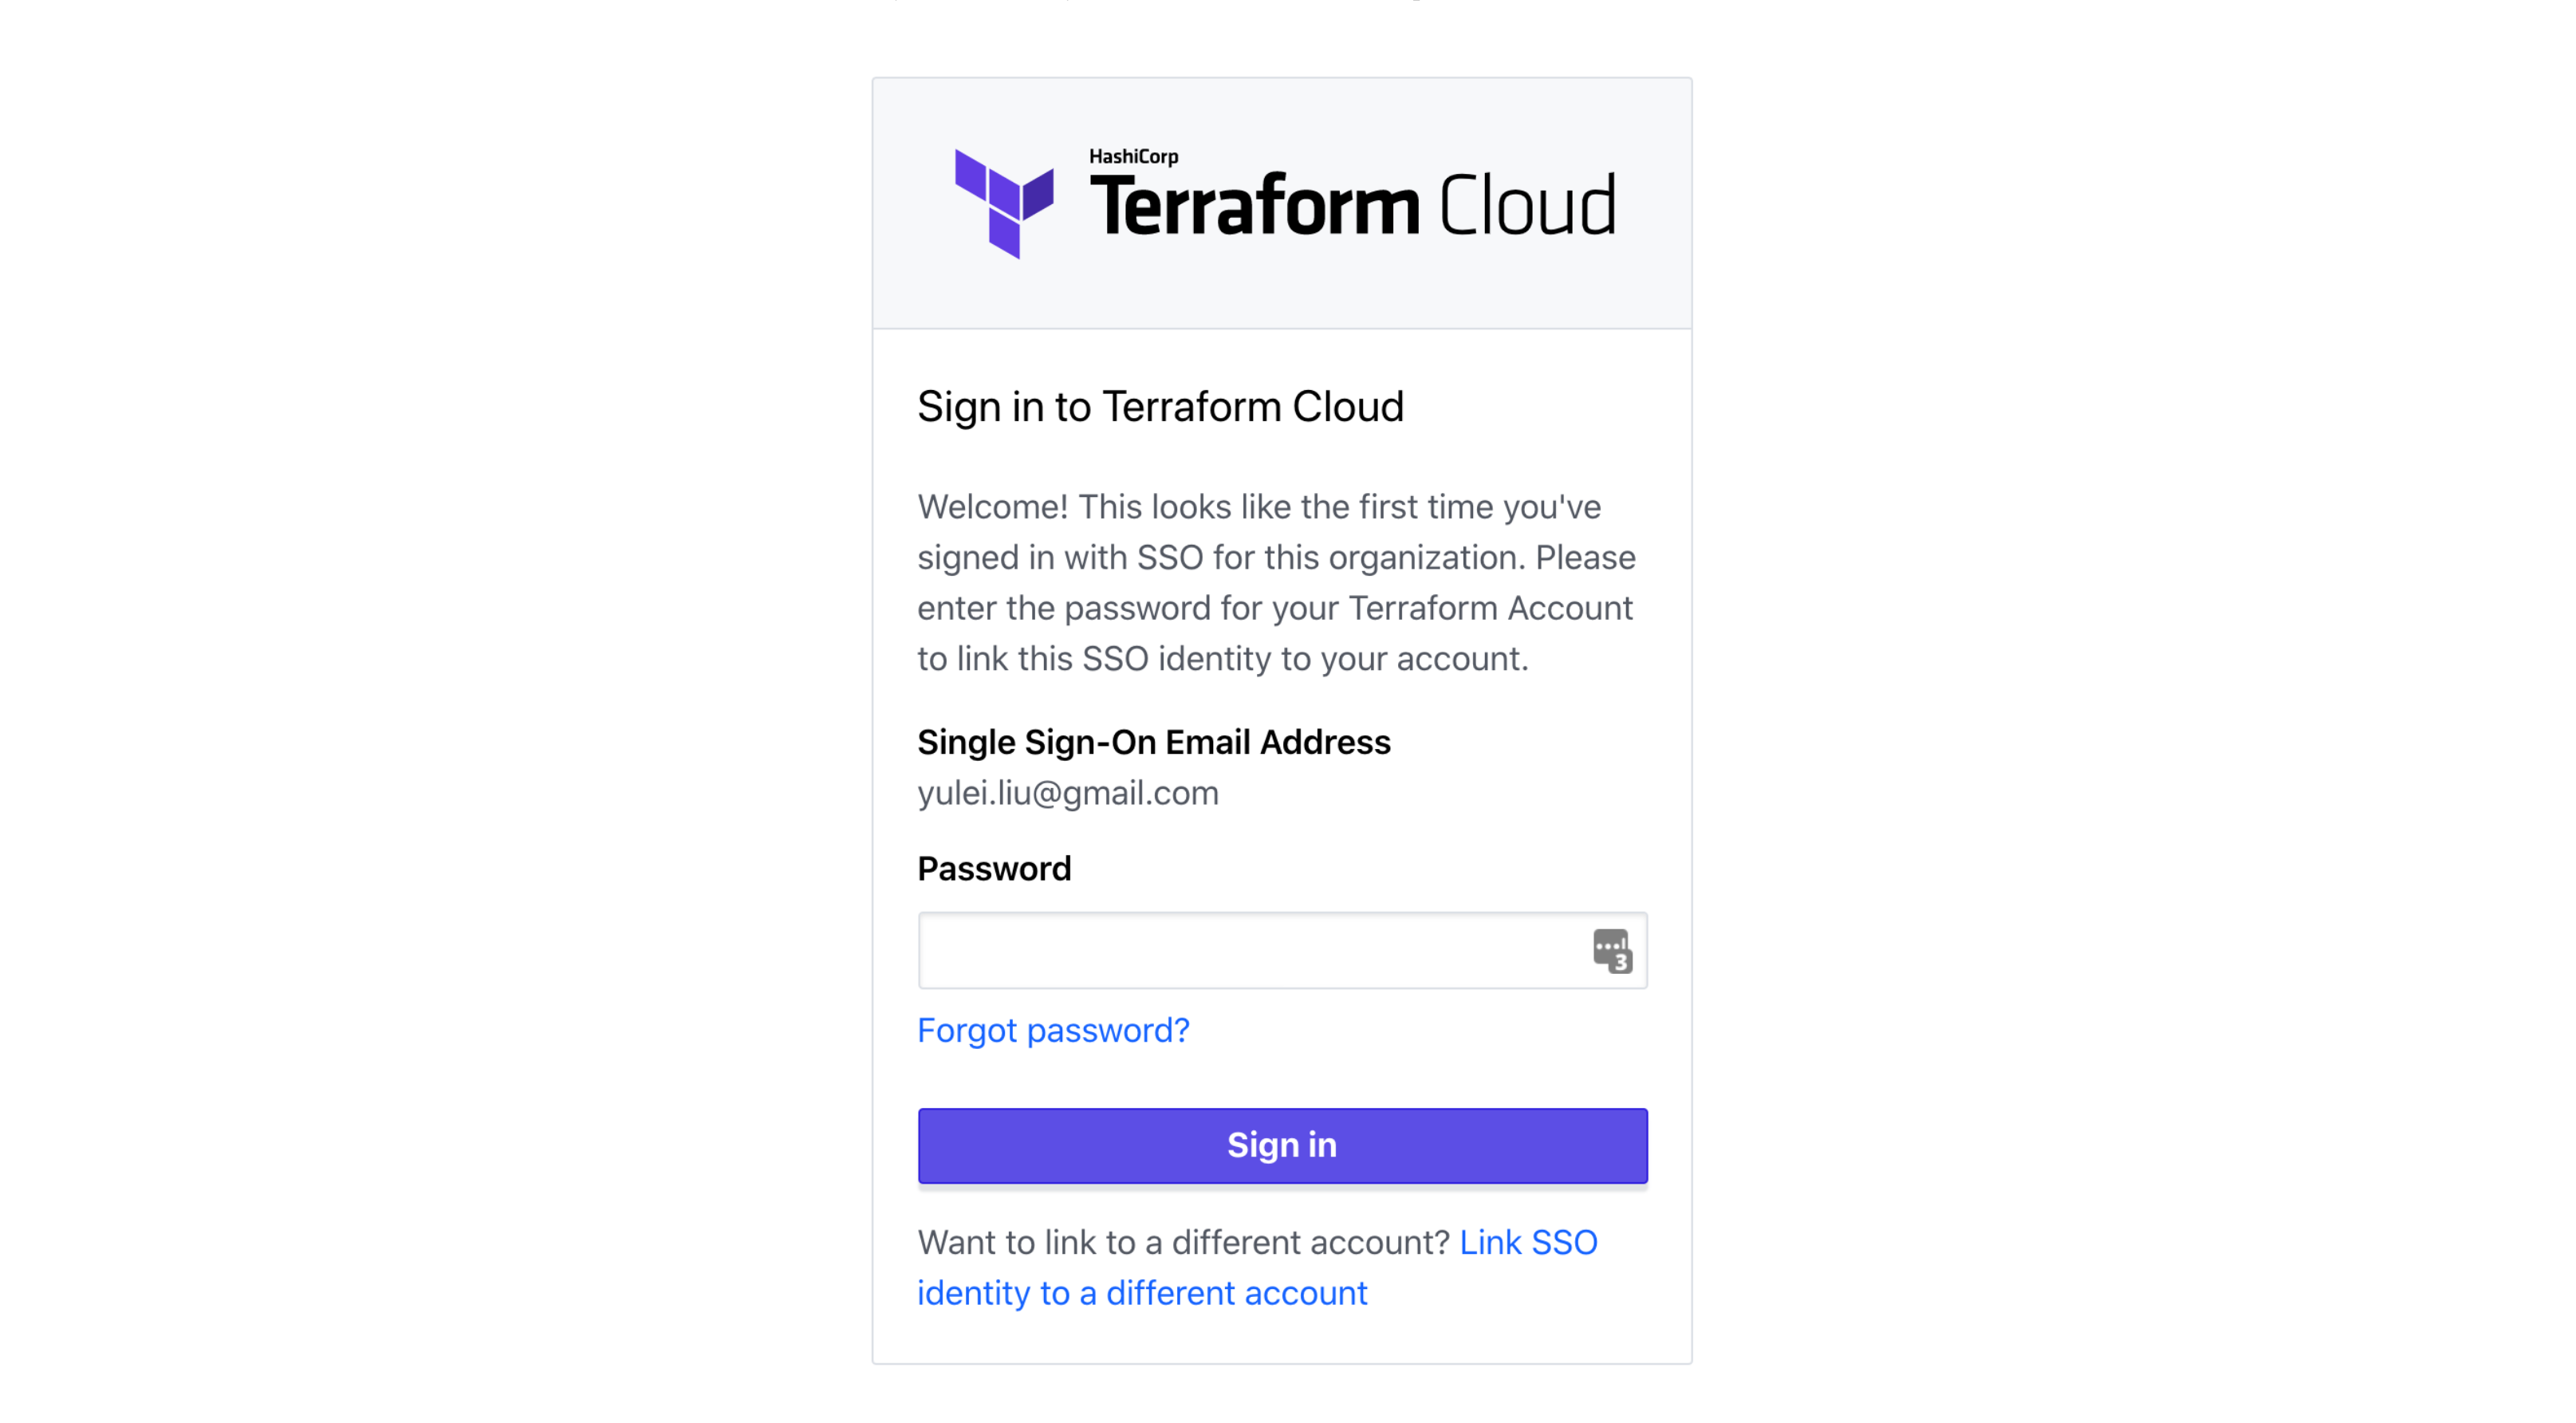
Once you link your account, you will be allowed in. You may not be able to see any workspaces if you are not part of any team — by default, users logged in via Single Sign-On will belong to a group called sso, which doesn’t have visibility into any workspaces.
You can ask the organization owner to assign you to the right team, or you can use the Terraform Provider for Terraform Enterprise to manage the team members. Here is a small example.
»Learn More About Terraform Cloud Business Tier
SSO is just one of the unique benefits of the Terraform Cloud Business Tier, which was released earlier this year. To learn about the other features Business Tier has to offer, read our blog announcement.
Originally published on GitHub.com.


