HashiCorp Consul allows operators to quickly connect applications across multiple clouds (on-premises, Google Cloud, Amazon AWS, and more) as well as multiple runtime environments (wirtual machines, Kubernetes, etc). Watch the video below to see this in action:
»The “Why” in “Making a Mesh”
Networks within the enterprise are only growing in complexity. Between the growth of public cloud, Kubernetes adoption, and other orchestration and delivery platforms, organizations have been forced to evolve the way they approach applications and networking. “Service Mesh” is a phrase frequently talked about in the cloud-native community, and is usually focused exclusively on Kubernetes. At HashiCorp, we strongly believe that the problems solved by a service mesh are what should be focused on, not the underlying platform technology. A service mesh should be global. It should be able to stretch between your cloud environments AND your runtimes (Kubernetes, VM, Nomad, etc). That “global” approach to service mesh requires focusing on supporting workflows (not specific technologies) and enabling operators to solve connectivity challenges in multi-cloud environments.
Security requirements have grown increasingly important as workloads become more portable between environments. Foundations of zero trust networking are expected to be a default and connectivity between workloads should all be encrypted with mTLS. As networks themselves become more dynamic, the security policies we apply to these environments need to shift to fit that model. With Consul, we talk about this often in the context of shifting from static to dynamic, and making applications “first class citizens” on the network. The traditional practice of simply applying security between IP addresses isn’t enough at this point.
As enterprises embrace multi-cloud as an operating model, they find that the networks they are working with are very inconsistent (overlapping IP address spaces, VPN requirements, NAT networks, restrictive firewall rules). We need to be striving to consume platforms that create models that support consistency and enabling workflows that support migration of workload connectivity between those environments, dictated by a common policy. These workflows should also include the ability to extend our existing environments in a “service mesh design pattern” way; via ingress and egress capabilities.
Finally, this all should be codified - and able to be stored as artifacts alongside the application code. This ensures that future deployments of these workloads will be consistent.
With Consul, we often talk about how one of our core focuses is making multi-cloud networking easy for operators. Consul has a lot of tricks up its sleeve around creating consistent networking across multiple environments and making the “cross-cloud” experience as frictionless as possible for our operators. The ultimate goal is that your environments shouldn't have to be islands. A service mesh should be globally visible and able to connect any runtime or cloud. We recently wrote a blog highlighting an example of this where she demonstrated taking two Kubernetes clusters (Google Kubernetes Engine and Azure Kubernetes Service) and joining those environments together into a single service mesh. In Consul, we call this federating workloads.
While enterprises today are still running significant amounts of workloads on-premises in virtual machines, we’re also starting to see the design pattern of many smaller Kubernetes clusters become prolific within those environments. Teams adopt Kubernetes gradually and progressively move workloads into those environments. This creates an environment where applications are often split between platforms, opening the door to other security and application lifecycle challenges.
»Understanding Multi-Cloud Consul
In the video above, we mimic the model that we commonly see in enterprise environments by starting with a Consul cluster running within virtual machines, and federate multiple Kubernetes based Consul datacenters into our existing datacenter. With the WAN Federation capabilities we added in Consul 1.8 - we allow operators to send all cluster to cluster communication through the mesh gateways as opposed to exposing all consul nodes to one and other. This approach significantly lowers the barrier of entry to connecting environments across clouds, and also reduces the need for dedicated VPN’s between these environments.
Since we’re operating within the service mesh, we can guarantee mutual TLS (mTLS) end to end between our workloads. We also unlock the ability to apply intention based security policy between these workloads - establishing a foundation for zero trust networking. Finally, as this is a fully functional Consul cluster, we can take advantage of capabilities that live outside of the traditional service mesh by enabling concepts like service discovery, health checking, and network infrastructure automation. These combined capabilities establish the foundation of “application centric networking” - where we move the focus of connecting applications into the control plane - and treat connectivity as an application concept vs a static IP to IP pattern.
»Deploying Consul on Kubernetes with Helm
Throughout this video we leverage the Consul Helm chart to deploy our Consul environments onto the Kubernetes clusters. The Helm chart is extremely flexible and can support a number of different deployment models. For example, a few of the configurations that can be accomplished automatically by leveraging the Consul Helm chart are below...
- Standalone “server” cluster for Consul, secure by default with encryption enabled
- Deployment as a “client” for an existing Consul cluster
- Automatic bootstrapping and configuration of Access Control Lists (ACLs) in Consul
- Automatic configuration of federation secrets for federating multiple Kubernetes environments (as demonstrated by Nicole in her blog post I referenced above)
- Configuration of Ingress/Terminating Gateways
- Configuration of Mesh Gateways
In our video above, when federating our environments, we follow a fairly repeatable process.
- We create our federation secret in our Kubernetes environments, which consists of our Certificate Authority details, our gossip encryption key, and server configuration details which includes our datacenter name and mesh gateway connectivity information
- We deploy our Helm chart using a pre configured Helm manifest
Let’s take a look at the manifest that we used to deploy and federate our Consul environment with a vSphere based Kubernetes environment:
global:
    name: consul
    image: consul:1.8.0
    datacenter: humblelab-kube
    tls:
      enabled: true
      caCert:
        secretName: consul-federation
        secretKey: caCert
      caKey:
        secretName: consul-federation
        secretKey: caKey
    federation:
      enabled: true
    gossipEncryption:
      secretName: consul-federation
      secretKey: gossipEncryptionKey
  connectInject:
    enabled: true
  meshGateway:
    enabled: true
    replicas: 1
  ingressGateways:
    enabled: true
    defaults:
      replicas: 1
      service:
        type: LoadBalancer
  server:
    storage: 10Gi
    storageClass: default-k8s
    extraVolumes:
    - type: secret
      name: consul-federation
      items:
        - key: serverConfigJSON
          path: config.json
      load: true
In this configuration file, we mount our pre-created Kubernetes secret as a volume for our Consul pods to consume. This mounted secret contains the necessary information to ensure secure communication between our Consul environments. We provide a datacenter name (humblelab-kube, in this case), enable federation, our service mesh feature, mesh gateways, and an ingress gateway to provide inbound communication. With this configuration file in place (and, as mentioned previously, our secret created), we can issue the following command to deploy the Helm chart.
helm install -f 1-vsphere-k8s.yaml consul hashicorp/consul
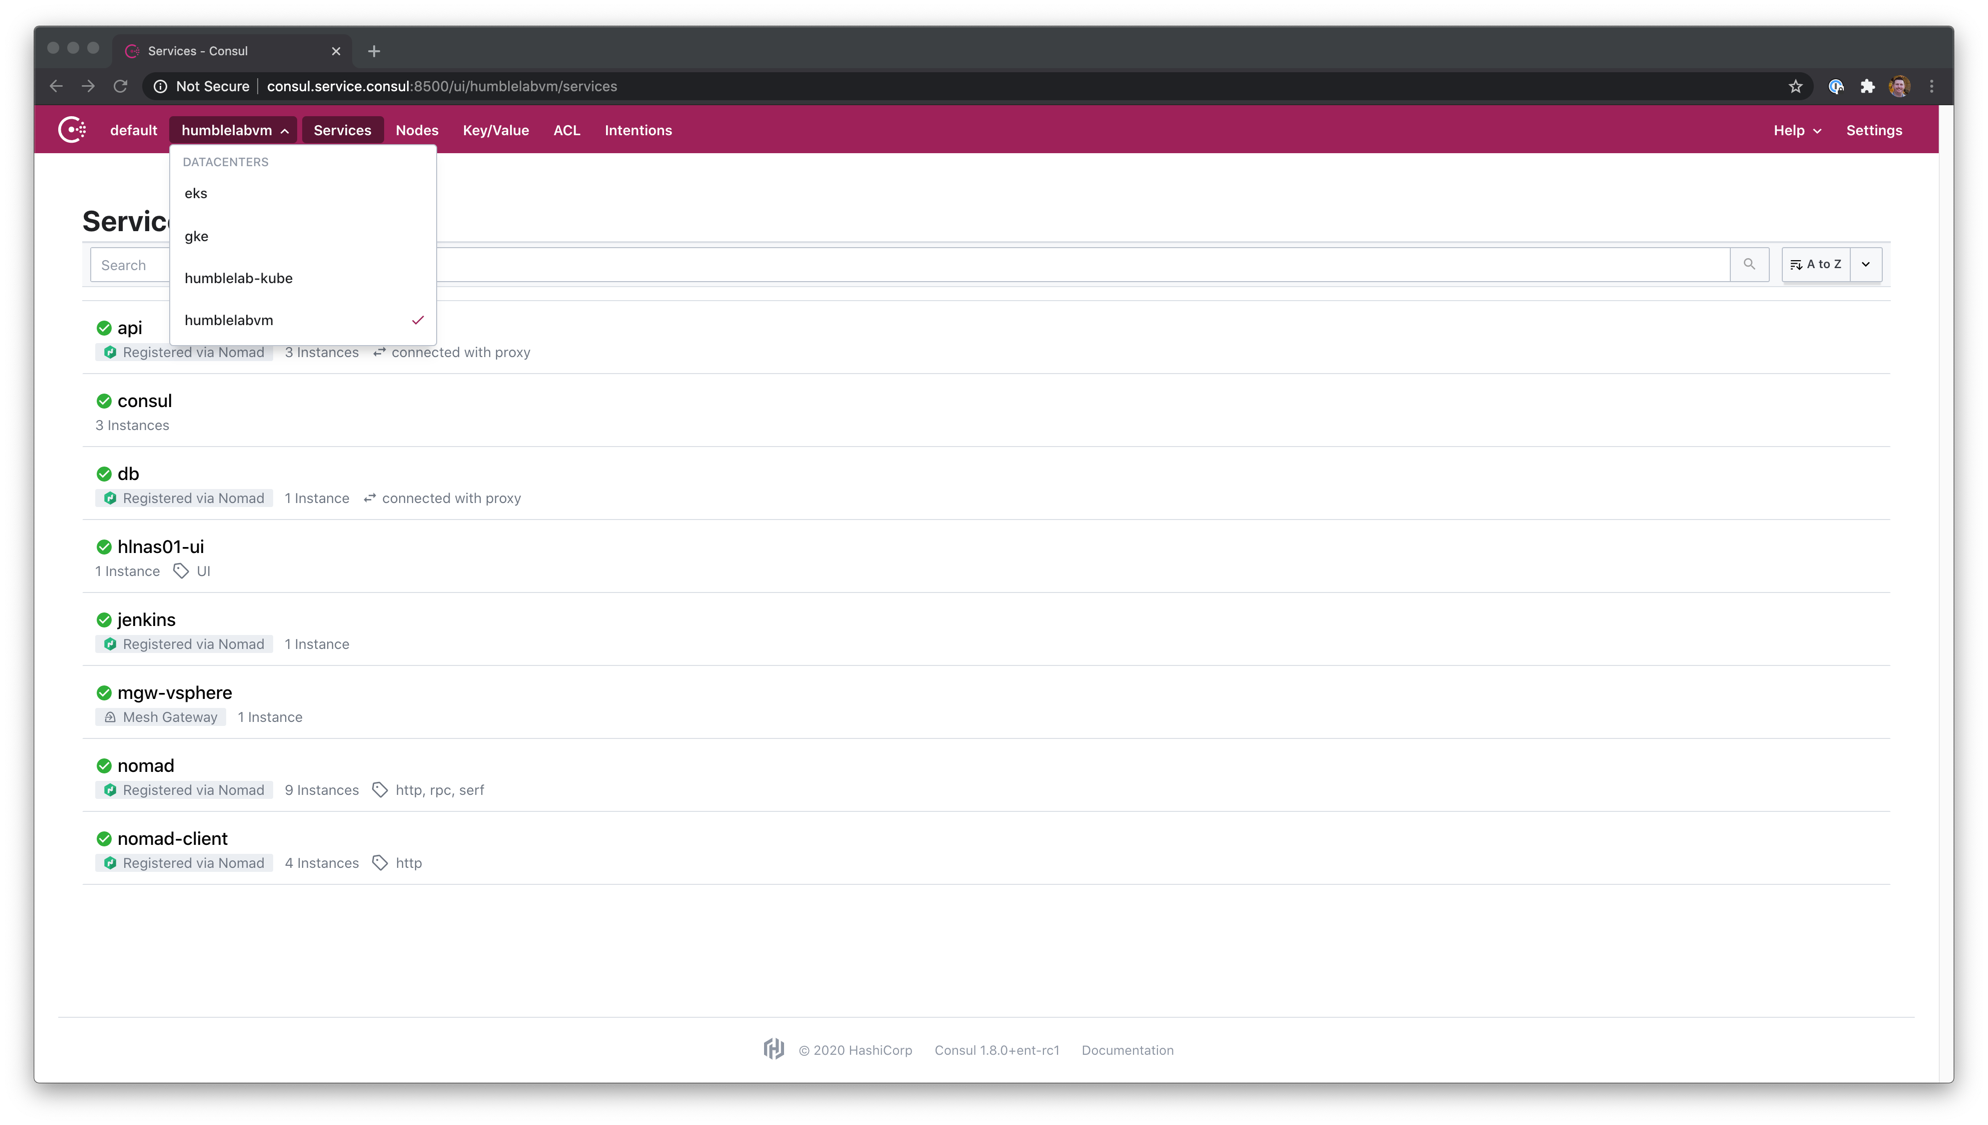
Roughly five minutes after this command completes, the environment should be stabilized and joined to our primary datacenter as a federated workload cluster. This process can be repeated across the other cloud environments - as shown in our demo video. You can see the end result of this federation process below

»Deploying Our Workload Across Clouds
We also demonstrate deploying an application that stretches across these cloud environments. This design pattern becomes critical when you think about crafting failover domains between environments as well as when you consider things like progressive delivery of applications within environments.
For our example, we deploy our frontend workload into our VMware vSphere based Kubernetes cluster leveraging the below manifest
apiVersion: v1
kind: ServiceAccount
metadata:
  name: frontend
---
apiVersion: v1
kind: Pod
metadata:
  name: app-frontend
  annotations:
    "consul.hashicorp.com/connect-inject": "true"
    "consul.hashicorp.com/connect-service-port": "80"
    "consul.hashicorp.com/connect-service-upstreams": "api:5000:eks"
  labels:
    app: bootcamp
spec:
  containers:
  - name: frontend
    image: codydearkland/app-frontend:latest
    ports:
    - containerPort: 80
  serviceAccountName: frontend
---
apiVersion: v1
kind: Service
metadata:
  name: frontend
spec:
  ports:
  - port: 80
    protocol: TCP
    targetPort: 80
  selector:
    app: bootcamp
  type: LoadBalancer
In this deployment manifest, you’ll note that we configure an “upstream” service that we connect to called API, over port 5000, that is hosted in the eks datacenter. While this is applied statically here, we can create dynamic failover between datacenters leveraging traffic shaping policies. That’s a story for another time however. We can issue a kubectl get services and connect to the address for our frontend.

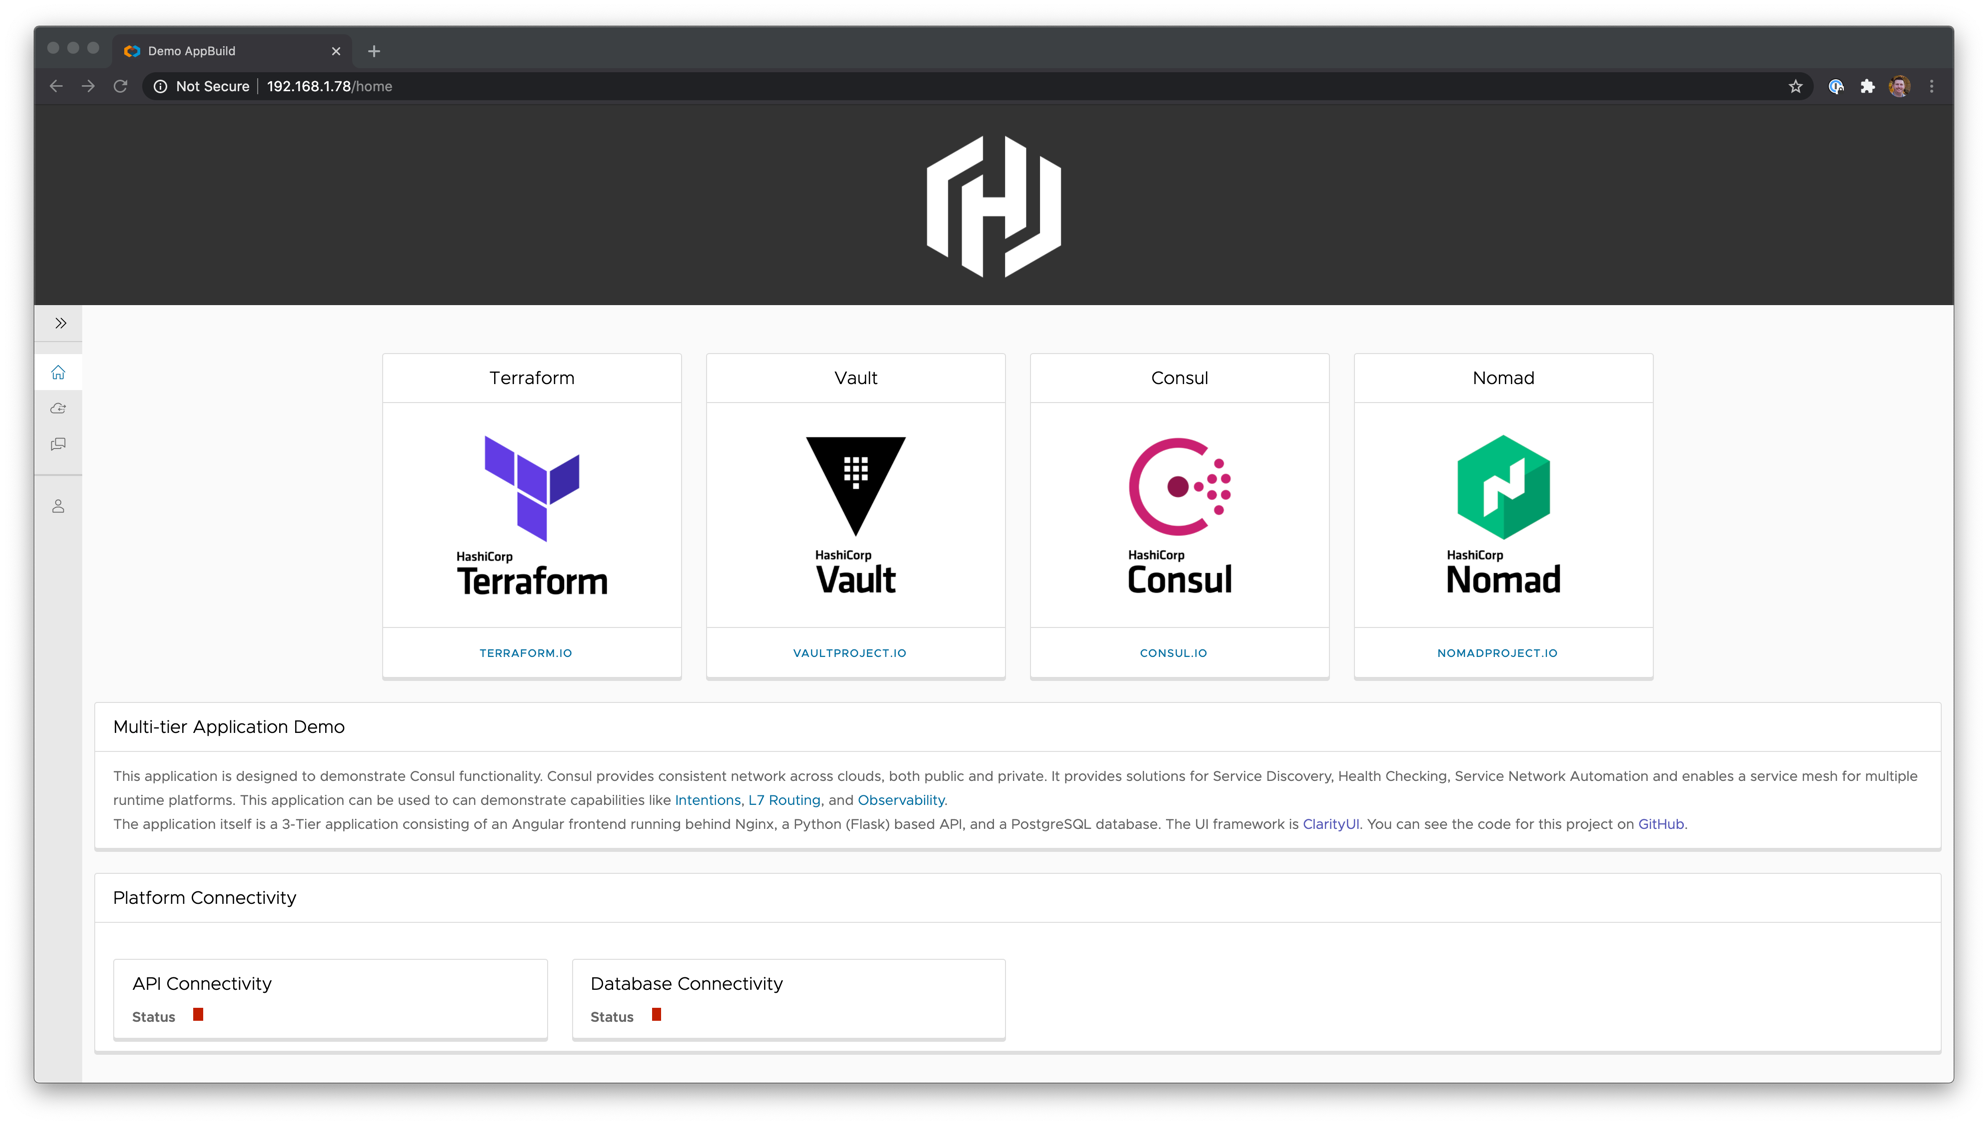
As you can tell, our API and Databases are unable to connect. This is because they don’t exist yet. Let’s go create them.
For the API portion of our application, we switch to our Amazon EKS cluster, and leverage the following manifest to configure our 2nd tier
apiVersion: v1
kind: ServiceAccount
metadata:
  name: api
---
apiVersion: v1
kind: Pod
metadata:
  name: api
  annotations:
    "consul.hashicorp.com/connect-inject": "true"
    "consul.hashicorp.com/connect-service-upstreams": "db:5432:gke"
    "vault.hashicorp.com/agent-inject": "true"
    "vault.hashicorp.com/agent-inject-secret-db": "secret/db"
    "vault.hashicorp.com/role": "api"
    "vault.hashicorp.com/agent-inject-template-db": |
          {{- with secret "secret/db" -}}
          host=localhost port=5432 dbname=posts user={{ .Data.data.username }} password={{ .Data.data.password  }}
          {{- end }}
spec:
  containers:
  - name: api
    image: codydearkland/apiv2:latest
    ports:
    - containerPort: 5000
  serviceAccountName: api
You’ll notice some similarities in this manifest, but also some big differences. We continue to apply an upstream here to set the connectivity for our database tier to port 5432 within our Google Kubernetes Engine (GKE) environment. Our EKS environment includes a HashiCorp Vault deployment, and since our API tier uses credentials to connect to the database tier, we store these in Vault and dynamically pull these credentials at runtime.
Finally, we switch to our GKE environment and deploy our database tier. As this tier doesn’t have an upstream that it works directly against, we’re simply deploying this pod that will be consumed by the application.
apiVersion: v1
kind: ServiceAccount
metadata:
  name: db
---
apiVersion: v1
kind: Pod
metadata:
  name: db
  annotations:
    "consul.hashicorp.com/connect-inject": "true"
spec:
  containers:
  - name: db
    image: codydearkland/demodb:latest
    ports:
    - containerPort: 5432
  serviceAccountName: db
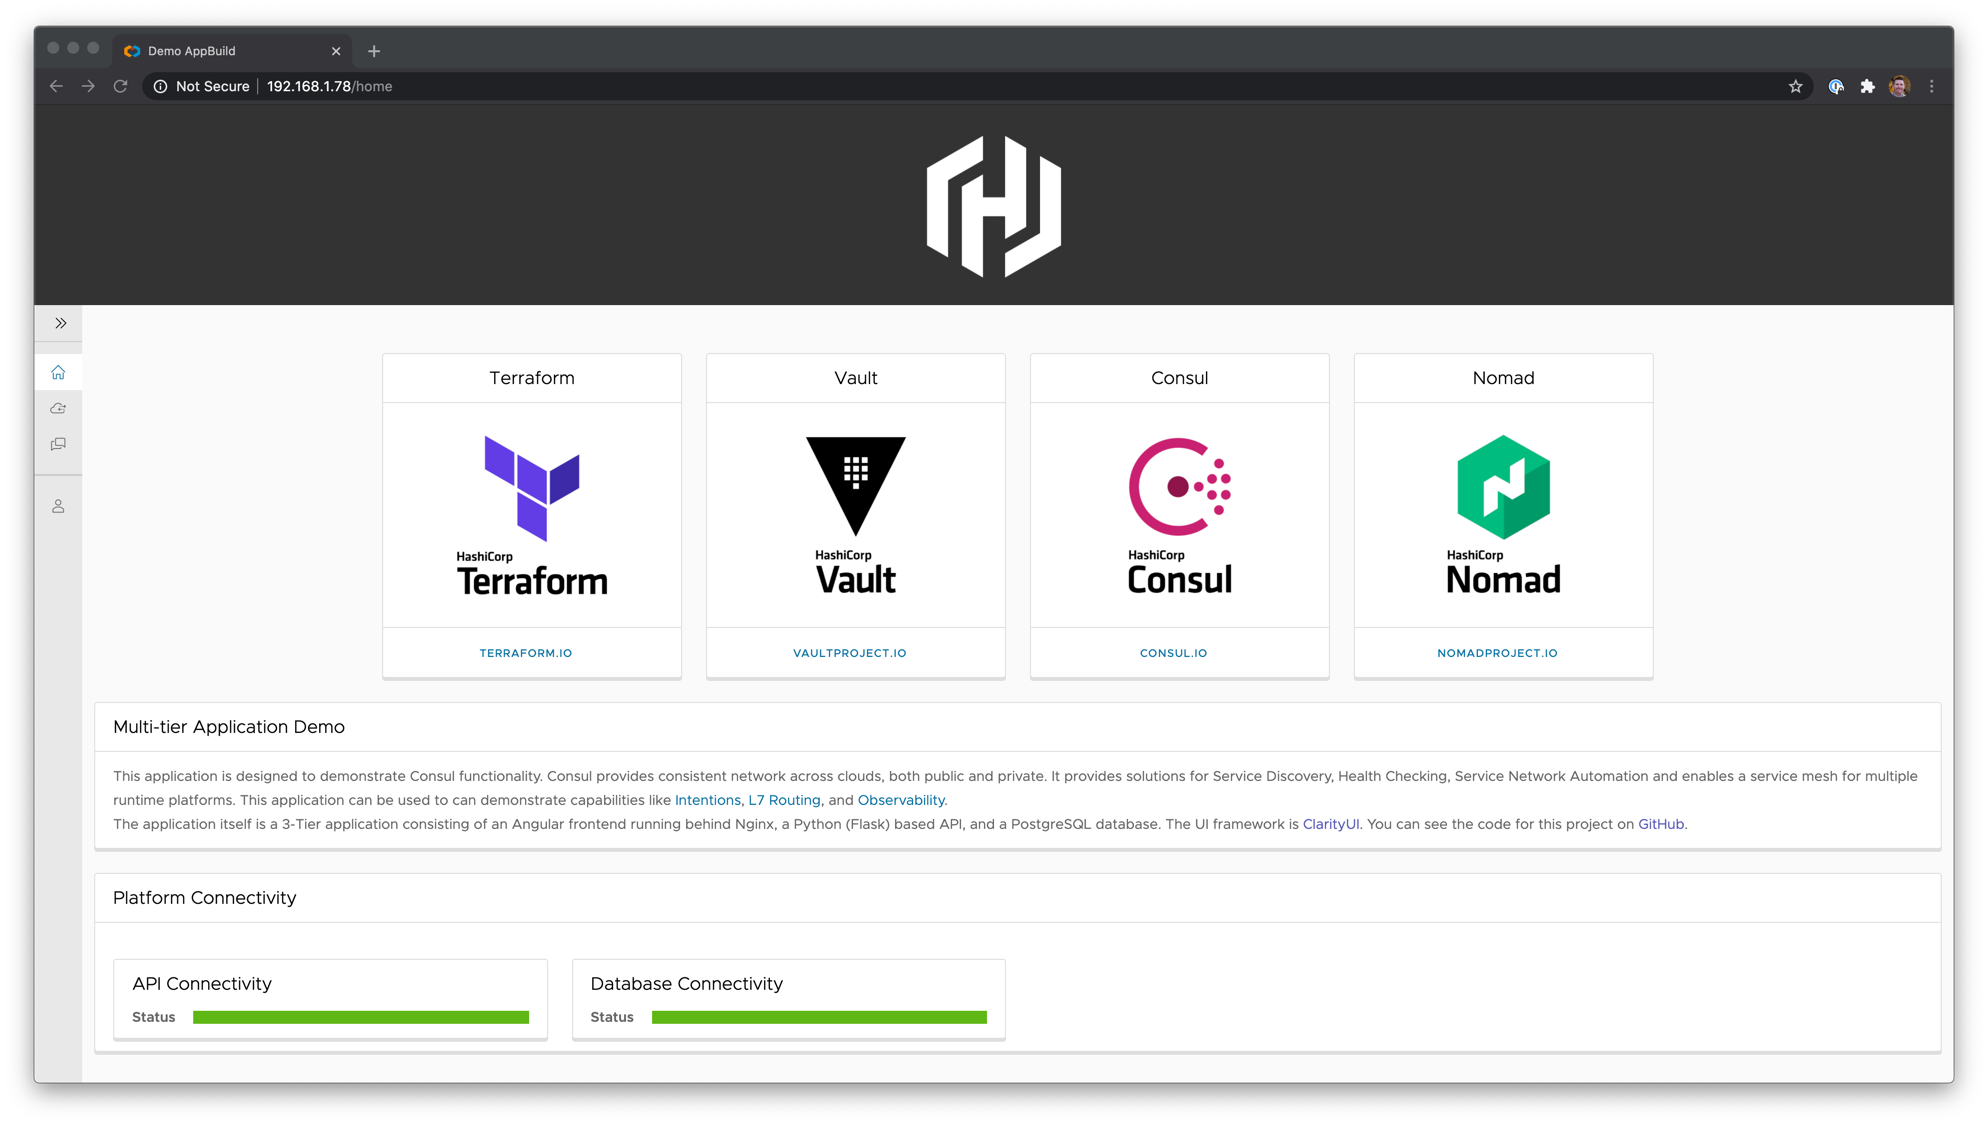
The end result is our application deployed, and communicating across the service mesh. Our API and Database indicators are green; indicating that the connectivity has been successfully established. The application is secured across all tiers leveraging mTLS encryption and intention based security. We also unlock the ability to control the flow of our traffic using traffic policies.

»Conclusion
In this blog, we took you on a tour of a demo video highlighting the ease of use with Consul and hybrid environments with both virtual machines and Kubernetes clusters. In future blogs, we’ll explore managing this environment with Terraform, and how we can leverage Nomad to introduce application orchestration and lifecycle capabilities to pair up alongside our Consul network lifecycle capabilities.
In the short term, there are a few great HashiCorp Learn tutorials that can take you through some of these concepts. We have an entire track focused specifically on tutorials around Getting Started with Consul Service Mesh on Kubernetes.


