
This post is part two of a three-part blog series on Azure managed identities with the HashiCorp stack. In part one, we learned about Microsoft Azure managed identities, how they work, how to provision them with HashiCorp Terraform, and how HashiCorp’s Packer and Terraform can use them to authenticate against Azure. In part three we look at how HashiCorp Nomad and Consul can take advantage of managed identities.
In this post, we will explore how secrets management with HashiCorp’s Vault can take advantage of Microsoft Azure managed identities to ease the operational burden of Vault cluster availability. Vault allows users to store static secrets and provision dynamic, short-lived secrets. Dynamic credentials, often referred to as ephemeral secrets, are credentials that are provisioned on-demand, for a predetermined period of time. Once this predetermined period of time has elapsed, the credential is automatically revoked.
»Protecting Data in Vault’s Storage Backend
Vault as a secrets management platform is decoupled from the storage backend where the actual secrets live. It encrypts all the data before storing it in the storage backend and decrypts the data it reads from the storage backend.
In order for Vault to be able to encrypt and decrypt data in the storage backend, it needs a master key. This master key gives Vault the ability to read the cryptographic key used to decrypt the data. The unseal key encrypts the master key. The hierarchy of keys unlock access to the data in a process called unsealing.

You can start the process of unlocking by obtaining the unseal key. By default, Vault uses an algorithm called Shamir’s Secret Sharing to split the unseal key into multiple shards. You distribute shards to multiple operators, one shard per operator. You need to input a minimum number of shards to unseal Vault. The default configuration splits the unseal key into five shards and requires any three of those five shards to unseal Vault.
While the process of distributing shards secures Vault, it adds operational overhead. Any time a Vault node restarts, it comes back up in a sealed state and requires the unsealing process to unlock access to the data. If a server restarts in the middle of the night, for example, you’ll need to wake up three on-call operators to unseal Vault and enable applications and users to read secrets! You might also restart a server when you patch an operating system. Server patching will bring the Vault server back up in a sealed state, which again, will require the unseal process to make it operational.
»Auto-Unseal to Reduce Operational Overhead
To avoid these problems, you can configure Vault with an auto unseal feature. A cloud provider’s key management system (KMS) becomes responsible for securing the unseal key. You can use Azure Key Vault to store the unseal key. Vault will automatically obtain this directly from the Azure Key Vault and unseal itself in the event of a restart.
In order for this to work, Vault needs to be able to authenticate against Azure to gain access to the unseal key in Azure Key Vault. You can configure auto unseal in a few different ways, including using environment variables or a seal stanza in the Vault configuration:
seal "azurekeyvault" {
  tenant_id      = "41646709-b60e-4747-be42-511edeaf1e144"
  client_id      = "03dc31fc-16x9-4b07-8122-3ef568f8af6v"
  client_secret  = "DUJDS3..."
  vault_name     = "hc-vault"
  key_name       = "vault_key"
}
The seal stanza contains sensitive parameters, especially the client ID and secret. In part 1 of this series, I discussed the secret zero challenge of secure secret introduction. Introducing the client ID and secret has the same issue.
If you host a Vault deployment in Azure, you can use Azure managed identity for Vault to authenticate against Azure and gain access to the unseal key in Azure Key Vault. The seal stanza no longer needs the client ID and secret:
seal "azurekeyvault" {
  tenant_id      = "41646709-b60e-4747-be42-511edeaf1e14"
  vault_name     = "hc-vault"
  key_name       = "vault_key"
}
You can also set the tenant ID and Azure Key Vault name and key using environment variables:
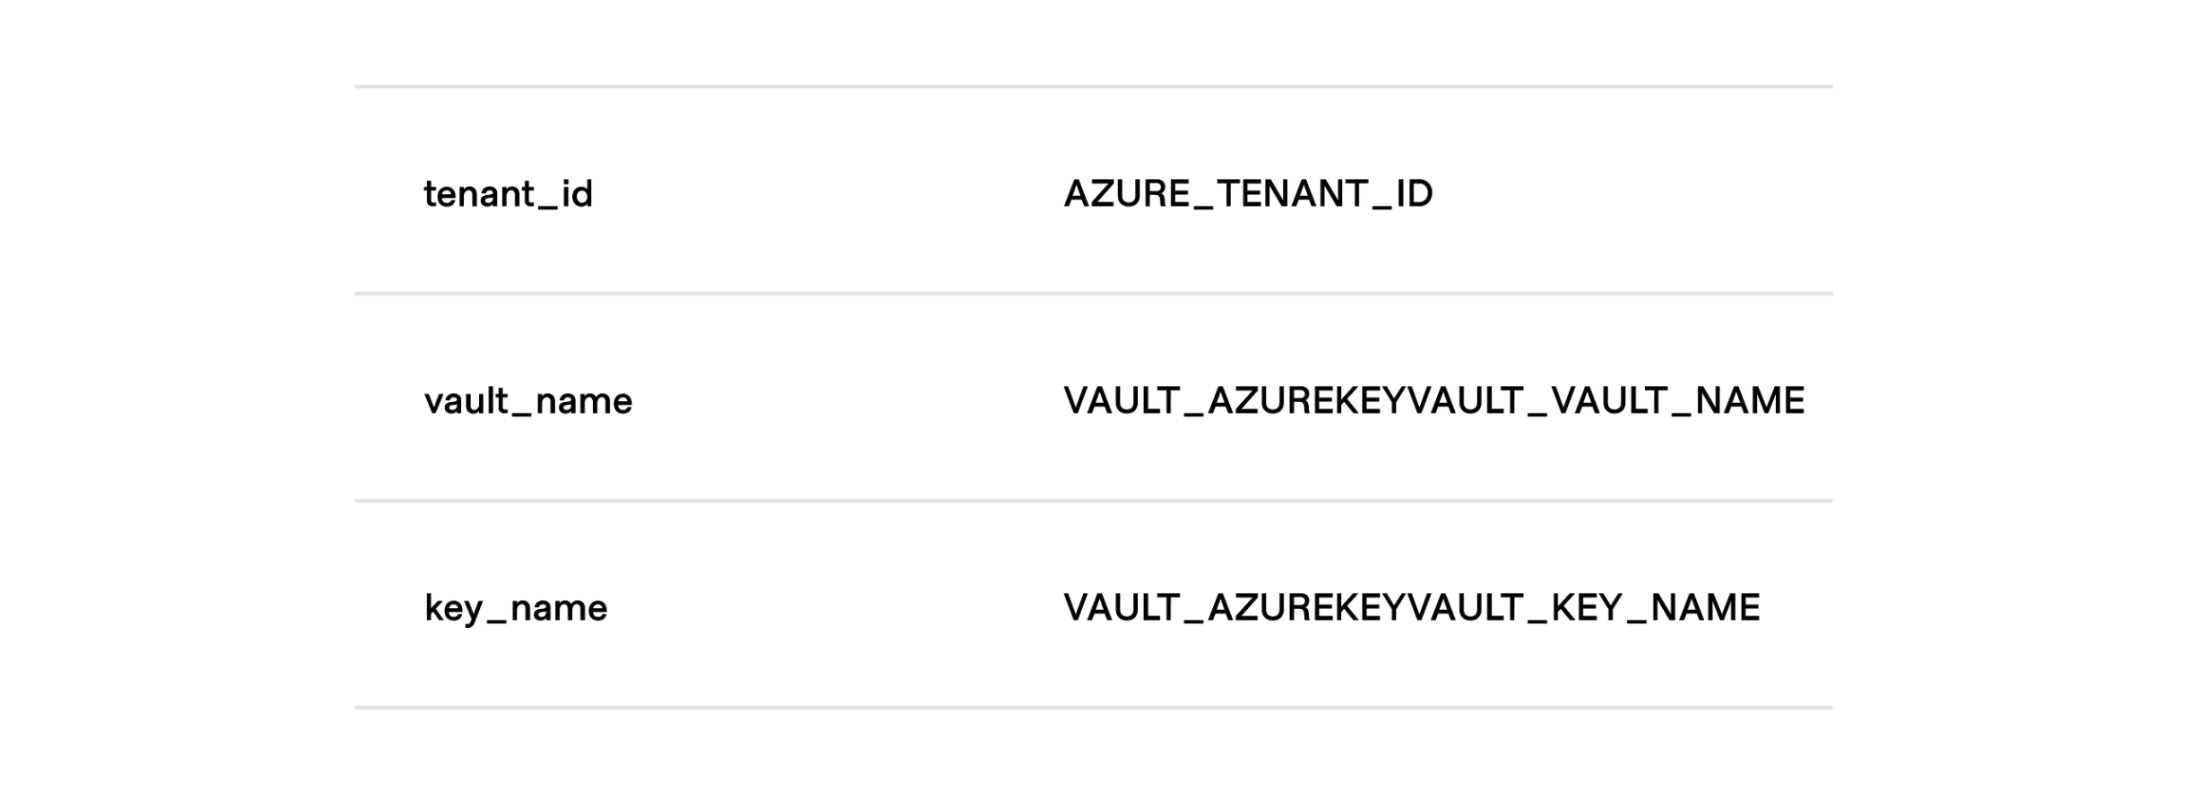
When you use a managed identity and set the environment variables, you can have an empty seal stanza within Vault’s configuration file:
seal "azurekeyvault" {}»Further Reading
For more on auto unseal for Azure Key Vault, check out our Learn tutorial.
In part three, we will look at how Nomad and Consul can take advantage of Azure managed identities.


